Master pages are an indispensable part of a SharePoint website as they help in modifying and making desired changes in the look, structure and functioning of your site. With the introduction of the minimal master pages, the task of website development and customization has become much more easier as they only utilize the required site elements while rendering the page in the browser. Moreover, with the presence of Design Manager in Microsoft SharePoint 2013, it is now possible to undertake minimal master page development without the creation and conversion of an HTML file. It is time to proceed further in our journey towards the creation of a minimal master page by paying attention towards the amazing tips provided by our SharePoint development services.
1. You need to first browse your publishing site.
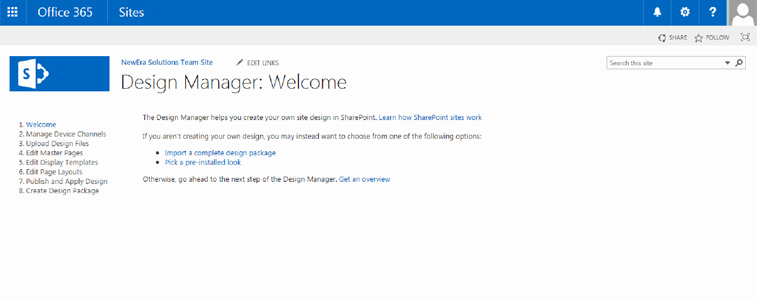
2. Now, you need to navigate towards the upper right corner of the site page. From there, you need to select Settings and then click on Design Manager.
3. In Design Manager, select the “Edit Master Pages” option located in the left navigation pane.
4. You need to select the “Create a minimal master page” option in the same page.
5. From the “ Create a Master Page” dialog box, you need to enter the name of your master page and then click on OK. This step creates the .master file and associated HTML file along with the same name in the Master Page Gallery. With this, your HTML file is saved with the “conversion successful” message in the Status column.
6. You need to follow the link in the status column to preview your HTML file. For making changes in the preview page of your SharePoint 2013 Design Manager, you need to follow this simple link. This preview page consists of a Snippets link which is located in the upper right corner. Once, your master page is previewed successfully, a <div> tag is automatically added to your HTML file. This <div> tag is the main content block that is present inside a content placeholder known as ContentPlaceHolderMain.
7. In order to make changes in your HTML file which is present on your server, you need to open your HTML editor and then make required changes in your HTML file in a mapped drive. Any changes made in the HTML files are automatically reflected on the associated .master file once they are saved due to the effective synchronization between the two. If you want any information regarding mapping of the network drive on your Microsoft SharePoint 2013, you need to check out this informative link.
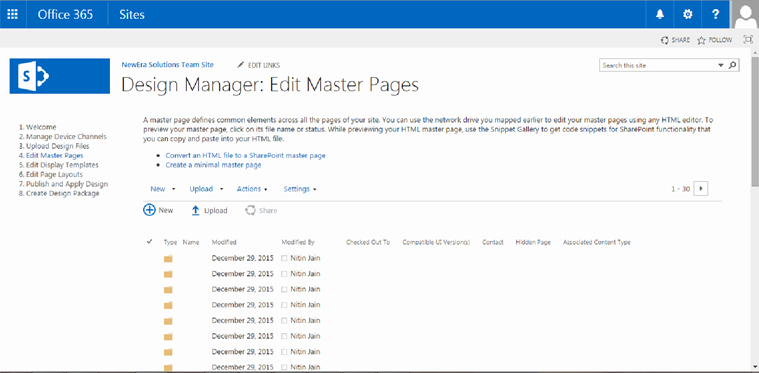
8. If you wish to work only with your .master file and not the HTML file, it is important to break the association between the two files. To accomplish this task, you need to follow these simple tips.
– First, click on the “Edit Master Pages” option in the Design Manager and then select the HTML file.
– Follow this path, Properties -> Edit Properties.
– Now, you need to clear the “Associated File” check box on the edit tab and then finally click on “Save” option.
By implementing these above steps, you can effortlessly create minimal master pages for your SharePoint site. If you still encounter any problem, you need to make a visit to our SharePoint development company, Velocity that is renowned both in India and other overseas countries for its master page development services.
For more information about master page customization, check out this next part of the blog : Microsoft SharePoint 2013- Making Customization in your site- Episode 3.
| https://www.velsof.com/blog/microsoft-sharepoint/microsoft-sharepoint-2013-making-customization-in-your-site-episode-3 |

