Recently, Facebook has made some changes in its policies for app developers. Essentially, app developers who require advanced access permissions (on the Facebook developer console) are now required to complete business verification. This means that if your app uses Facebook’s services, such as Facebook Pixel or Facebook Login, you must complete your business verification.
Things to Know About the Recent Changes!!

Apps that require advanced permissions and data sharing for functioning, must be linked to a verified business entity. Facebook has recently introduced these major changes on the Facebook Developer console. In case you have an app developed and using advanced access (such as email, public profile, etc) you will require to complete the Facebook business verification before May 1, 2023.
However, if the app is exclusively intended for use by app users with a role in the app itself, verification isn’t mandatory.
The app developers can directly verify their Facebook business via their Facebook developer console admin panel. Furthermore, according to policies of Facebook, only an individual with an Admin role in the business will be able to finish the verification process.
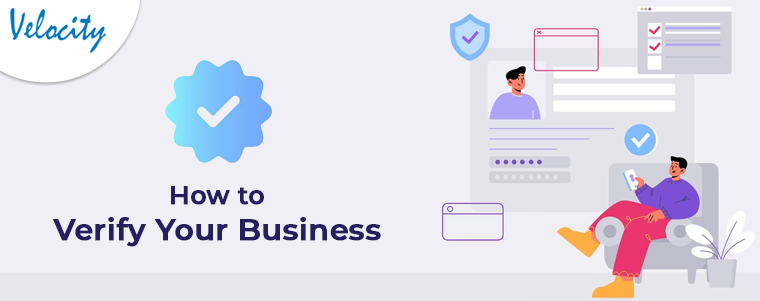
How to Verify Your Business!
To initiate the process of business verification, you can navigate to the Security Centre in Business settings. Within the Security Centre, you will be able to view the status of your business verification status.
Additionally, if you have created your Facebook Developer project, you can find the option in app>>settings>>basic>>Start Business verification.
Pre-Requisite:
If your business does not require verification, the option to click “Start verification” will not be available in the Security Centre. This feature is only available if your business needs to be verified. Apart from it, to verify your business, it is necessary for you to be an administrator of the Meta Business Manager account.
If you utilize monthly invoicing as your payment method for ads, you will not be required to submit any documentation for business verification purposes. When you begin the process of business verification, you can simply complete the form by providing your line of credit information and submitting it.
Step 1:
Go to Business Manager>>Security Center.
Step 2:
Hit the start verification button for starting the process.
Step 3:
In the appeared text fields, enter all the required business information.
Step 4:
In the appeared list, you can find the name of all of your listed businesses. In case you have not listed any business on Facebook, click on none of these match buttons. Furthermore, choose the business from the list you want to verify.
Step 5:
Finalize your business details in the next tab.
Step 6:
Facebook needs OTP verification for the next step. Here, you can find options such as Email, Phone Number, or OTP via text messages. Choose the suitable one.
Step 7:
This is the final step that requires the OTP for authentication. Enter your OTP and click on the submit button.
What to Do Next!
After receiving confirmation that your business has been verified, no further action is required on your part. You will receive a notification once the review process has been completed. Additionally, you can monitor the status of your verification at any time in the Security Centre.
If you need to make changes to your business information, you can return to the Security Centre to modify your details. However, please note that any modifications will require you to complete the business verification process once again.