Making customizations in a site is an essential exercise as business requirements and customer expectations are changing day by day. Especially, when you are in a competitive business environment, you need to make changes or modifications in your site from time to time in order to keep customers engaged to your website. If you are unsuccessful in this crucial task, you will surely lose revenue and business opportunities in the long run. Although, there are numerous platforms for website development and customization but this Microsoft SharePoint 2013 is a superb web development platform due to multiple features and functionalities. If you are having your site on this platform, here are the steps that can help in making desired customization in your SharePoint 2013 site.
Creation of category page layout through Design Manager
1. You need to first browse your publishing site.
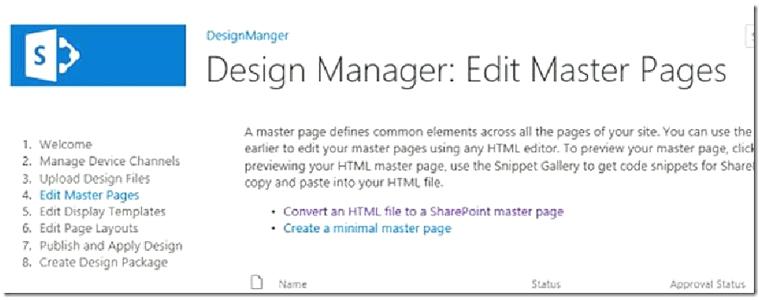
2. From the upper right corner of the page, you need to select the gear icon and then click on Design Manager.
3. Choose Edit Page Layouts located in the left navigation pane of the Design Manager.
4. Now, select “Create a page layout” option.
5. A dialog box of “Create a page layout” will appear. You need to enter the name of your page layout there.
6. Select the desired master page for your site. With the help of this master page, you can also determine the content placeholders that arrive with that particular page layout.
7. You need to choose the Article Page content type.
8. Click on OK. With this step, SharePoint creates an HTML file and an associated .aspx file of the same name. You can check that HTML file in your Design Manager having any of the following statuses:
– Warnings and Errors
– Conversion successful
9. With the help of Windows Explorer, you need to open the mapped network drive associated with your Master Page Gallery.
10. In order to customize your category page layout, you need to edit the HTML file that is present on the server through the use of HTML editor that can open and edit the HTML file mapped on a drive. Every time you make any changes in your HTML file, it is automatically synchronized with the associated .aspx file.
11. Now, you need to replace the content placeholder consisting of the id=”PlaceHolderPageTitle” in the <head> tag with:
HTML
<!–MS:<asp:ContentPlaceHolder id=”PlaceHolderPageTitle” runat=”server”>–>
<!–CS: Start Taxonomy TermProperty Snippet–>
<!–SPM:<%@Register Tagprefix=”Taxonomy” Namespace=”Microsoft.SharePoint.Taxonomy” Assembly=”Microsoft.SharePoint.Taxonomy, Version=15.0.0.0, Culture=neutral,
PublicKeyToken=71e9bce111e9429c” %>–>
<!–MS:<Taxonomy:TermProperty Property=”Name” runat=”server”>–>
<!–ME:</Taxonomy:TermProperty>–>
<!–ME:</asp:ContentPlaceHolder>–>
12. Similarly, you need to find the content placeholder consisting of id=”PlaceHolderPageTitleInTitleArea” and replace it with:
HTML
<!–MS:<asp:ContentPlaceHolder id=”PlaceHolderPageTitleInTitleArea” runat=”server”>–>
<!–SPM:<asp:SiteMapPath runat=”server” ParentLevelsDisplayed=”1″ SiteMapProvider=”CurrentNavigationSwitchableProvider”/>–>
<!–ME:</asp:ContentPlaceHolder>–>
13. You need to replace the markup inside the content placeholder consisting of id=”PlaceHolderMain” with the markup which you have selected for the page layout.
14. In order to make any changes in the configuration, you need to copy the HTML for the Content Search Snippet and any other snippets which you want to include in the page, you need to follow all the steps till now that are mentioned above.
15. If you want any other changes in the markup, you need to perform that and then save the required file. With these simple steps, you can seamlessly create your page layout without the help of any SharePoint development services.
Customization in the already created page layout
1. First, you need to open the mapped network drive associated with the Master Page Gallery through the use of Windows Explorer.
2. For making customization in the category page layout, you need to edit the HTML file that is present on the server through an HTML editor for opening the file and making changes in the HTML file located in the mapped drive. Every time you make any changes in the HTML file, it is automatically synchronized with the associated .aspx file.
3. You need to replace the markup located inside the content placeholder consisting of the id=”PlaceHolderMain” with the markup which you have selected for the page layout.
4. In order to configure your file, you need to copy the HTML for any snippets which is to be included in the page.
5. You need to implement any other changes which you want to make in your markup and then save the required file.
6. Now, finally you need to check the status of file, preview your page layout and then resolve any errors which are encountered during the above process.
By implementing these steps properly, you can customize your already created page layout without any involvement of SharePoint customization services and can make required changes effortlessly. But, if you feel any problem at any of the step or find it much more complicated being a novice in this area, you can take the expertise of your Sharepoint development company, Velocity that has numerous happy customers in India as well as in other countries such as UK, USA, Canada, Australia and much more.
If you have missed out the previous parts of this blog, you can take a quick look on these write ups once again :
Microsoft SharePoint 2013- A guide towards Minimal Master Page- Episode 1
Microsoft SharePoint 2013- A step towards Minimal Master Pages Development- Episode 2