--- title: Proxmox VE Installation Guide on Debian 12 (Bookworm) – Step-by-Step Tutorial (2026) url: https://www.velsof.com/devops/proxmox-ve-installation-guide-on-debian-12-bookworm-step-by-step-tutorial-2026/ date: 2026-02-23 type: blog_post author: Sarvendra Singh categories: DevOps, User Manuals tags: home server, proxmox, server, virtualization --- **Platform:** Debian 12 (Bookworm) **Virtualization Platform:** Proxmox Virtual Environment ## Introduction If you’re planning to build a powerful virtualization [server](https://www.velsof.com/cloud-services/) using Debian 12, this step-by-step guide will help you install **Proxmox VE on Debian 12 (Bookworm)** the correct and recommended way. Proxmox Virtual Environment (Proxmox VE) is an open-source ent[erp](https://www.velsof.com/erp-crm-solutions/)rise virtualization platform that allows you to run **KVM virtual machines**, **LXC cont[ai](https://www.velsof.com/ai-automation/)ners**, manage storage, networking, clustering, and backups — all from a web-based interface. ## Why Use Proxmox VE? Before diving into installation, it’s important to understand **why organizations use** Proxmox Virtual Environment and what real-world problems it solves. In traditional IT environments, every application requires a separate physical server. This leads to: - High hardware costs - Poor resource utilization - Increased power consumption - Complex maintenance - Difficult backup and disaster recovery - Limited scalability Proxmox VE solves these problems by providing a **centralized virtualization platform** that allows you to run multiple Virtual Machines (VMs) and Linux Containers (LXC) on a single physical server. ## Problems Proxmox VE Solves: ### 1️⃣ Server Consolidation Instead of running: - One server for web hosting - One for the database - One for backup - One for testing You can run all of them as isolated VMs on a single physical machine. ✅ Reduces hardware cost ✅ Saves rack space ✅ Lowers electricity usage ### 2️⃣ Better Resource Utilization Most physical servers use only 20–30% of their capacity. Proxmox allows: - Dynamic CPU allocation - RAM optimization - Storage pooling - Resource balancing This ensures maximum hardware efficiency. ### 3️⃣ Centralized Management With Proxmox VE’s web interface (port 8006), you can: - Create and manage VMs - Monitor CPU, RAM, Disk usage - Configure networking - Manage storage - Take backups - Create clusters All from a single dashboard ### 4️⃣ Built-in High Availability & Clustering Proxmox supports clustering multiple servers. If one node fails: - VMs can automatically migrate - Downtime is minimized - Infrastructure becomes fault-tolerant This is ideal for production environments. ### 5️⃣ Integrated Backup & Snapshot System Proxmox provides: - VM snapshots - Scheduled backups - Easy restore options This simplifies disaster recovery planning. ### 6️⃣ Cost-Effective Alternatives to VMware Many organizations switch from: - VMware ESXi - Microsoft Hyper-V Because Proxmox: - Is open-source - Has no expensive licensing - Offers enterprise features - Supports both KVM and LXC ## Summary Proxmox VE solves the core infrastructure challenges of: - Hardware overuse - Server sprawl - Poor resource management - Expensive virtualization licenses - Complicated backup systems It provides a **powerful, centralized, enterprise-grade virtualization platform** — completely open-source and highly scalable. ## Why Install Proxmox VE on Debian 12? Installing Proxmox VE on **Debian 12 (Bookworm)** gives you: - Better control over system configuration - Minimal OS footprint - Flexibility for cloud/VPS deployments - Clean production-ready virtualization setup - Ideal environment for hosting VMs, Docker hosts, Kubernetes labs, or internal infrastructure ## System Requirements Before installing Proxmox VE, ensure your server meets the following requirements: ### Minimum Requirements - **Operating System:** Debian 12 (Bookworm) Minimal Installation - **RAM:** 4 GB minimum (8 GB recommended for production) - **CPU:** 64-bit processor with virtualization support (Intel VT-x / AMD-V) - **Disk Space:** Minimum 32 GB - **Network:** Static Public IP Address - **Root Access:** Required Step-by-Step Proxmox VE Installation on Debian 12: ## Step 1: Verify Debian Version Ensure the system is running Debian 12 (Bookworm): ``` cat /etc/os-release ``` You should see: ``` VERSION="12 (bookworm)" ``` 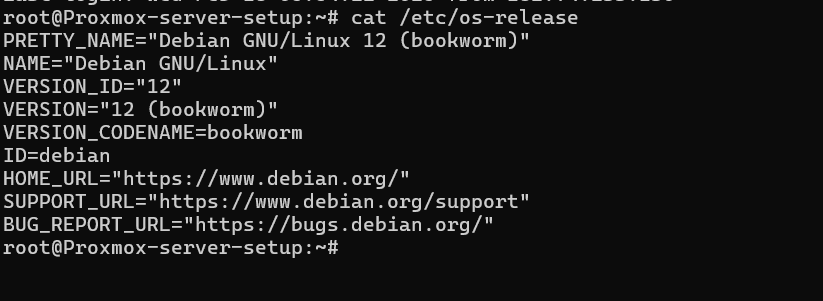 ## Step 2: Update the System Update all packages before proceeding: ``` apt update apt full-upgrade -y reboot ``` ## Step 3: Configure Hostname and Hosts File ### Set Hostname ``` hostnamectl set-hostname proxmox-server-setup ``` ### Edit Hosts File ``` nano /etc/hosts ``` Add the following lines: ``` 127.0.0.1 localhost YOUR_SERVER_IP 'Hostname' ``` Replace `YOUR_SERVER_IP` with your actual public IP address. ## Step 4: Add Proxmox VE Repository (Bookworm) Add the no-subscription repository: ``` echo "deb http://download.proxmox.com/debian/pve bookworm pve-no-subscription" > /etc/apt/sources.list.d/pve-install-repo.list ``` Add GPG key: Update package list: ``` wget https://enterprise.proxmox.com/debian/proxmox-release-bookworm.gpg -O /etc/apt/trusted.gpg.d/proxmox-release-bookworm.gpg ``` 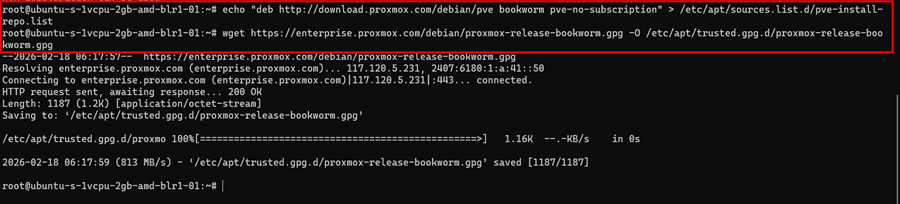 Update package list: apt update 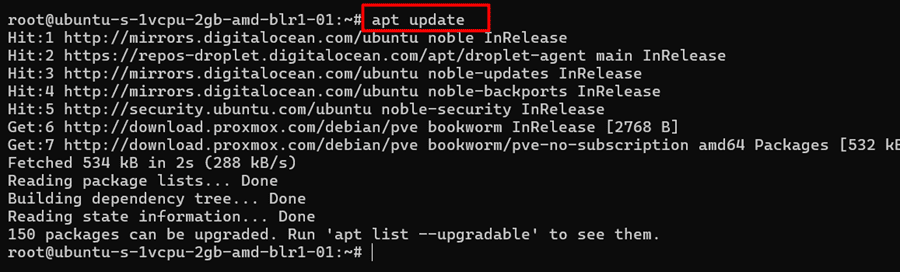 Step 5: Install Proxmox VE Install Proxmox VE and required packages: ``` apt install proxmox-ve postfix open-iscsi -y ``` This will install: - Proxmox Kernel - KVM hypervisor - LXC container support - Web management interface - Storage tools  ## Step 6: Remove Default Debian Kernel After installation, remove the default Debian kernel to avoid conflicts: ``` apt remove linux-image-amd64 -y update-grub ``` 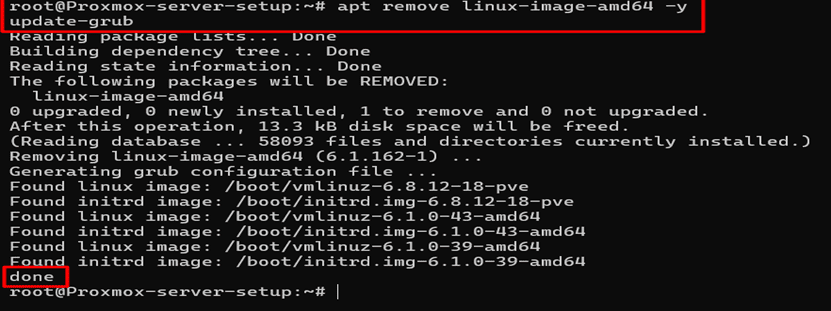 ## Step 7: Reboot the Server ``` reboot ``` After reboot, your server will be running the Proxmox kernel. ## Step 8: Access Proxmox Web Interface Open your browser and visit: ``` https://YOUR_SERVER_IP:8006 ``` Login credentials: - **Username:** root - **Realm:** Linux PAM - **Password:** Root password 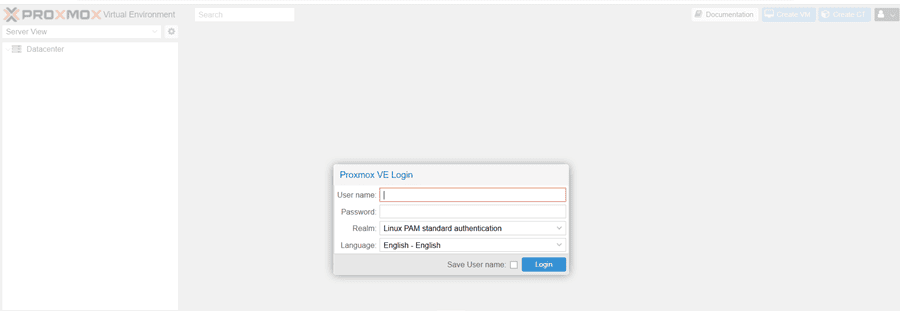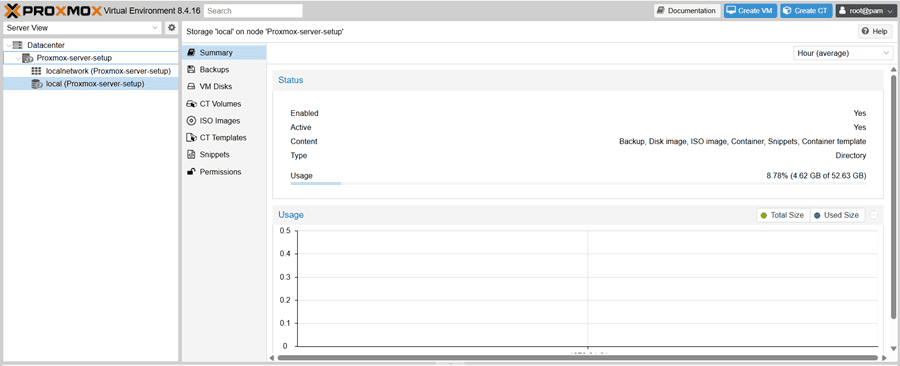 ## Troubleshooting Guide --- ## Issue 1: Proxmox Web Interface Not Opening ### Check pveproxy Service ``` systemctl status pveproxy ``` If not running: ``` systemctl restart pveproxy ``` ### Check Firewall Ensure port **8006 TCP** is allowed. If using cloud providers like: - DigitalOcean - AWS - Azure Make sure inbound TCP 8006 is allowed in security groups/firewall rules. ## Conclusion Installing Proxmox Virtual Environment on Debian 12 (Bookworm) is a powerful and flexible way to build your own virtualization server. By following this step-by-step guide, you now have: - A fully working Proxmox VE server - Web-based management interface - Production-ready virtualization environment You can now start creating Virtual Machines (VMs), LXC containers, and build your own infrastructure.