--- title: Know How to Create exe for the desktop application url: https://www.velsof.com/blog/create-exe-for-the-desktop-application/ date: 2026-03-16 type: blog_post author: Velocity Software Solutions categories: Blog tags: .exe for the desktop application, Desktop Application --- *Last reviewed: November 2026.* ## 1. Introduction This document describes how to create the exe for the[desktop application](https://www.velsof.com/). ## 2. Executable file (exe file) An executable file (exe file) is a computer file that contains an encoded sequence of instructions that the system can execute directly when the user clicks the file icon. ## 3. How to create the exe file for application For creating the exe file for the application: Go to the solution of the project -press right button of mouse and click on Add option- click on New Project. [](https://www.velsof.com/wp-content/uploads/2021/03/Picture1.png) Search setup in the next window occur -click on Setup Project [](https://www.velsof.com/wp-content/uploads/2021/03/Picture2.png) If the Setup Project option not found then add the extension while clicking on the extension option in top bar – click on Manage Extensions [](https://www.velsof.com/wp-content/uploads/2021/03/Picture3.png) Add Microsoft Visual Studio Installer Projects extension in visual studios [](https://www.velsof.com/wp-content/uploads/2021/03/Picture4.png) If the Setup Project option is present there -Click on Next [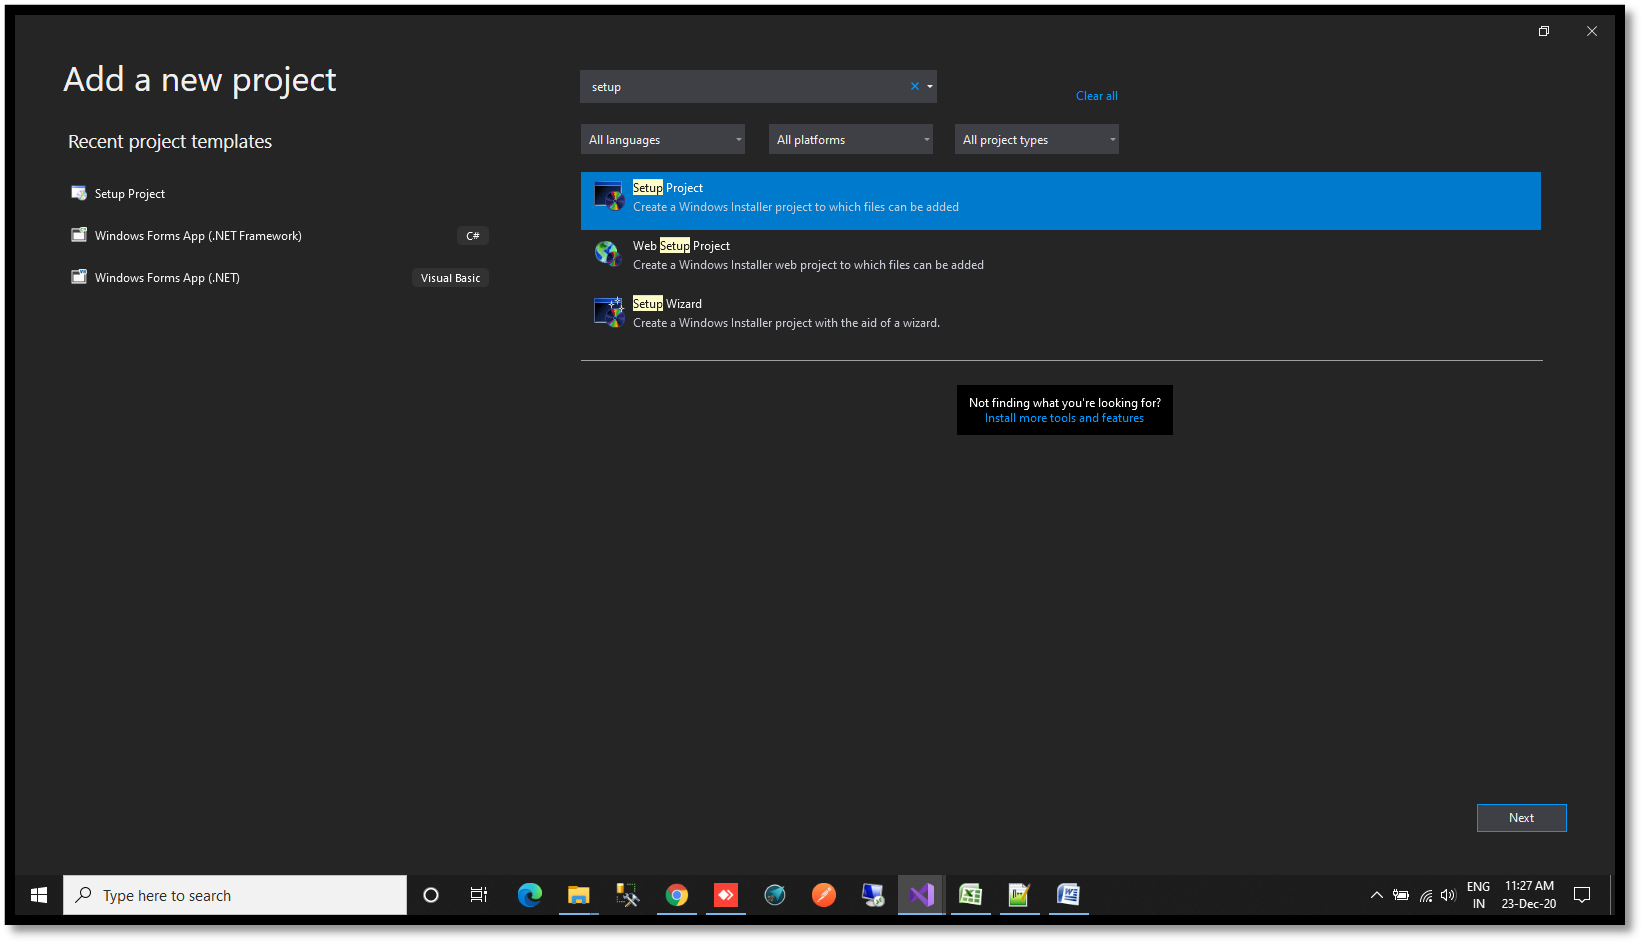](https://www.velsof.com/wp-content/uploads/2021/03/Picture5.png) Provide the name to the setup -Click on Create [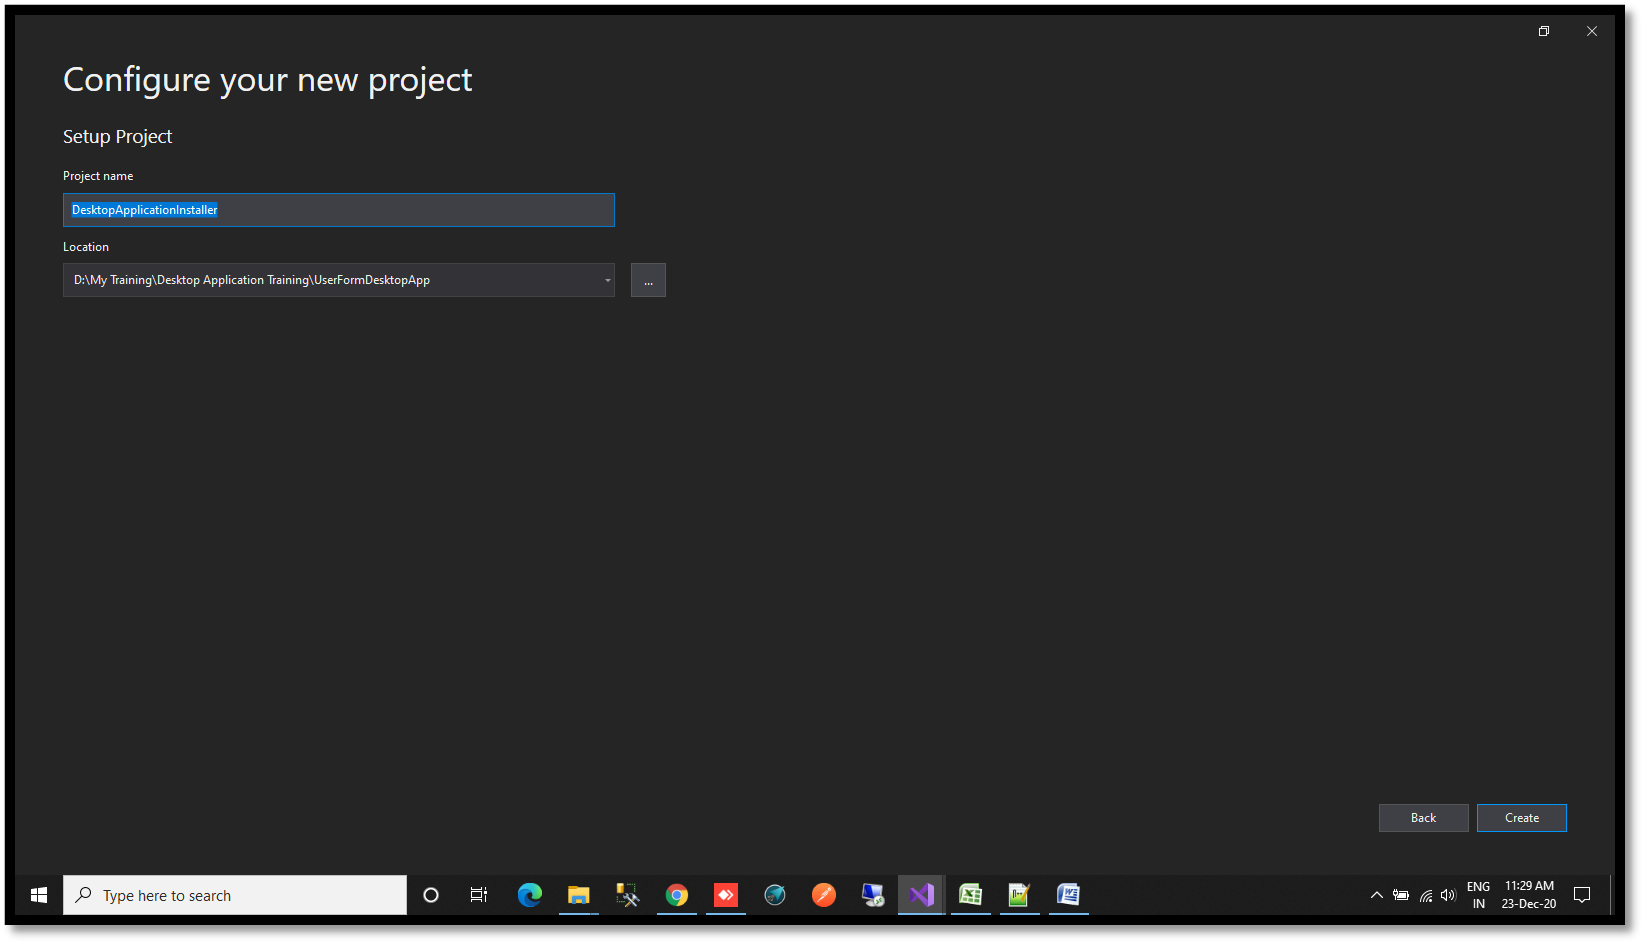](https://www.velsof.com/wp-content/uploads/2021/03/Picture6.png) A new interface will shown to you [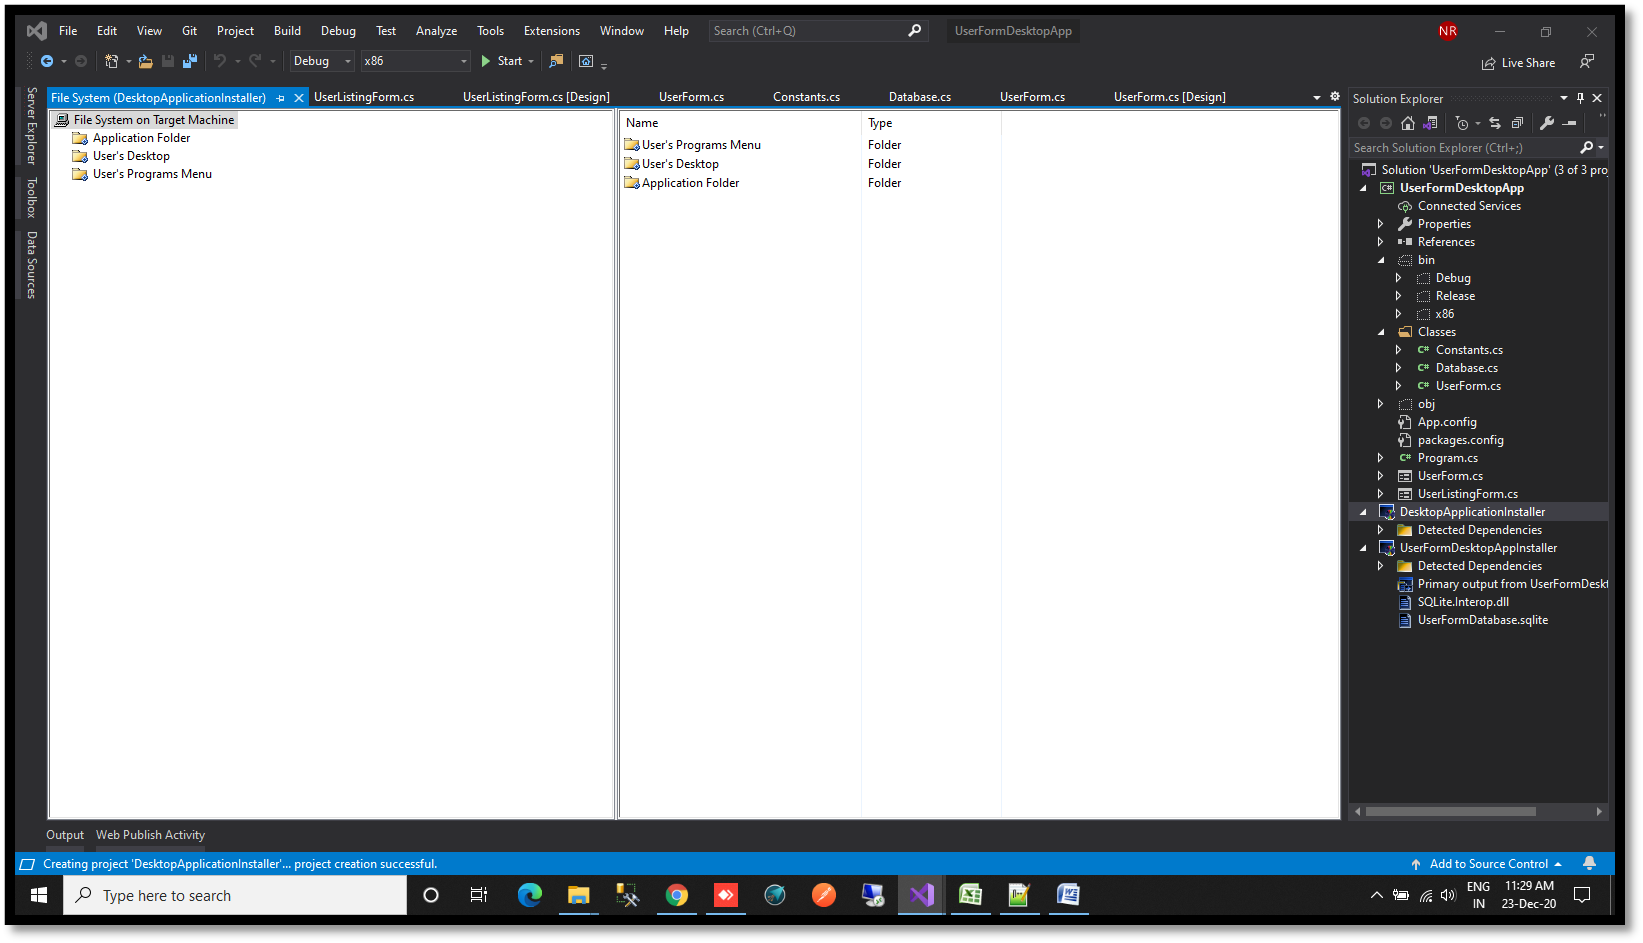](https://www.velsof.com/wp-content/uploads/2021/03/Picture7.png) Right Click on Application folder -Click on Add – Project Output [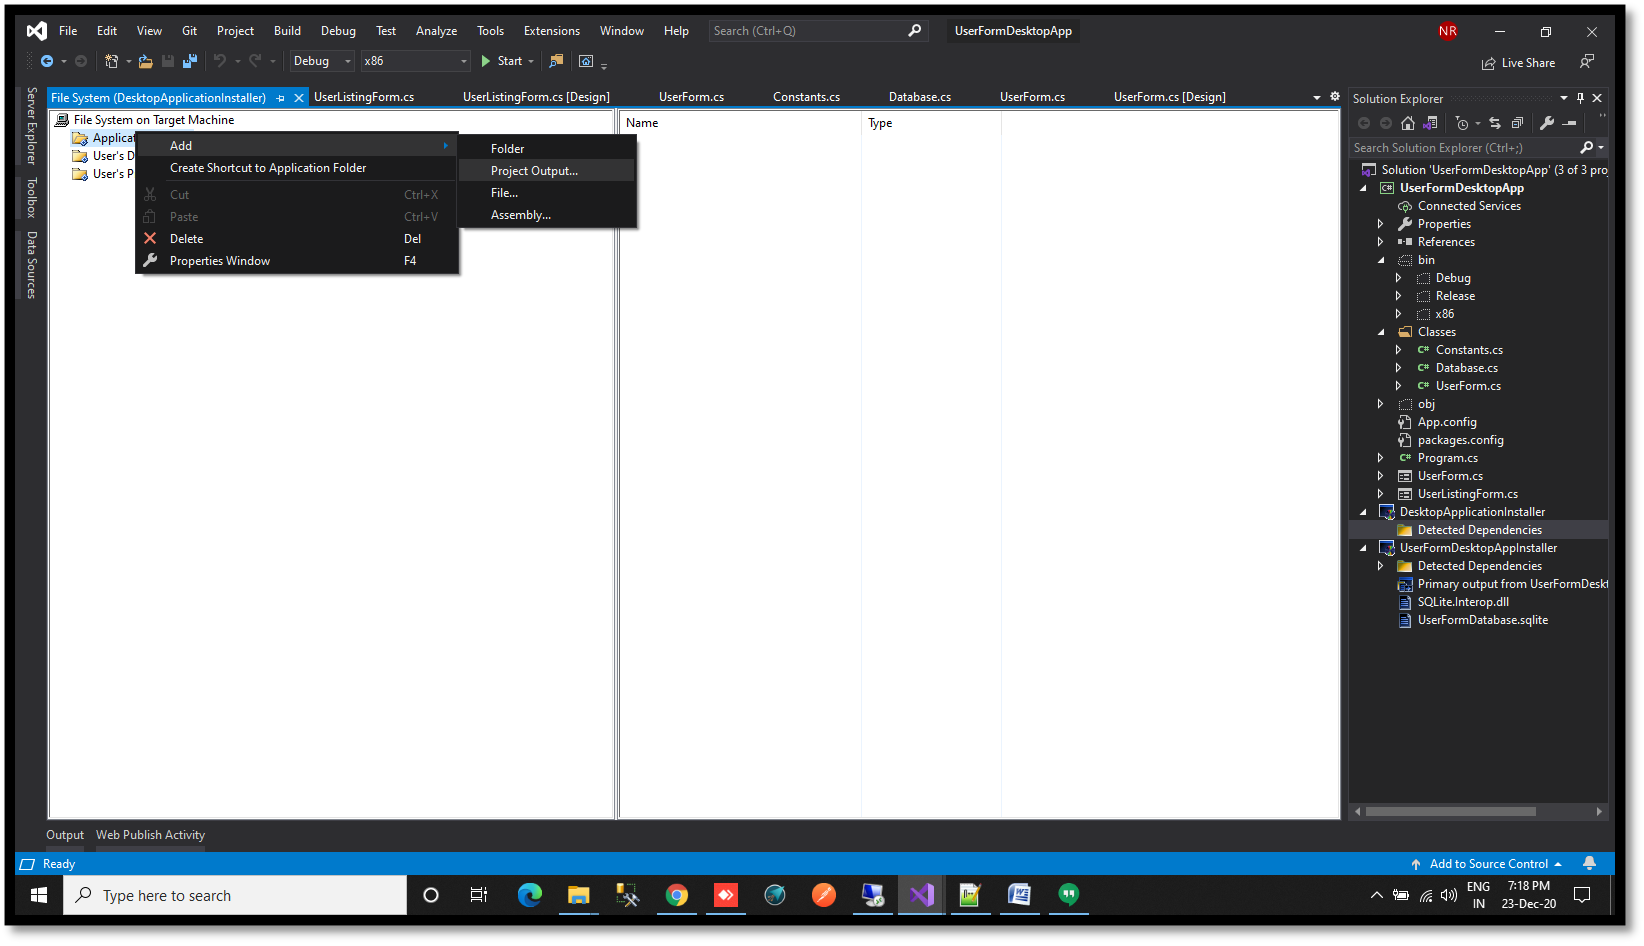](https://www.velsof.com/wp-content/uploads/2021/03/Picture8.png) A new window will open -Click on Primary Output – Click Ok [](https://www.velsof.com/wp-content/uploads/2021/03/Picture9.png) Multiple files will shown in the right section of the screen [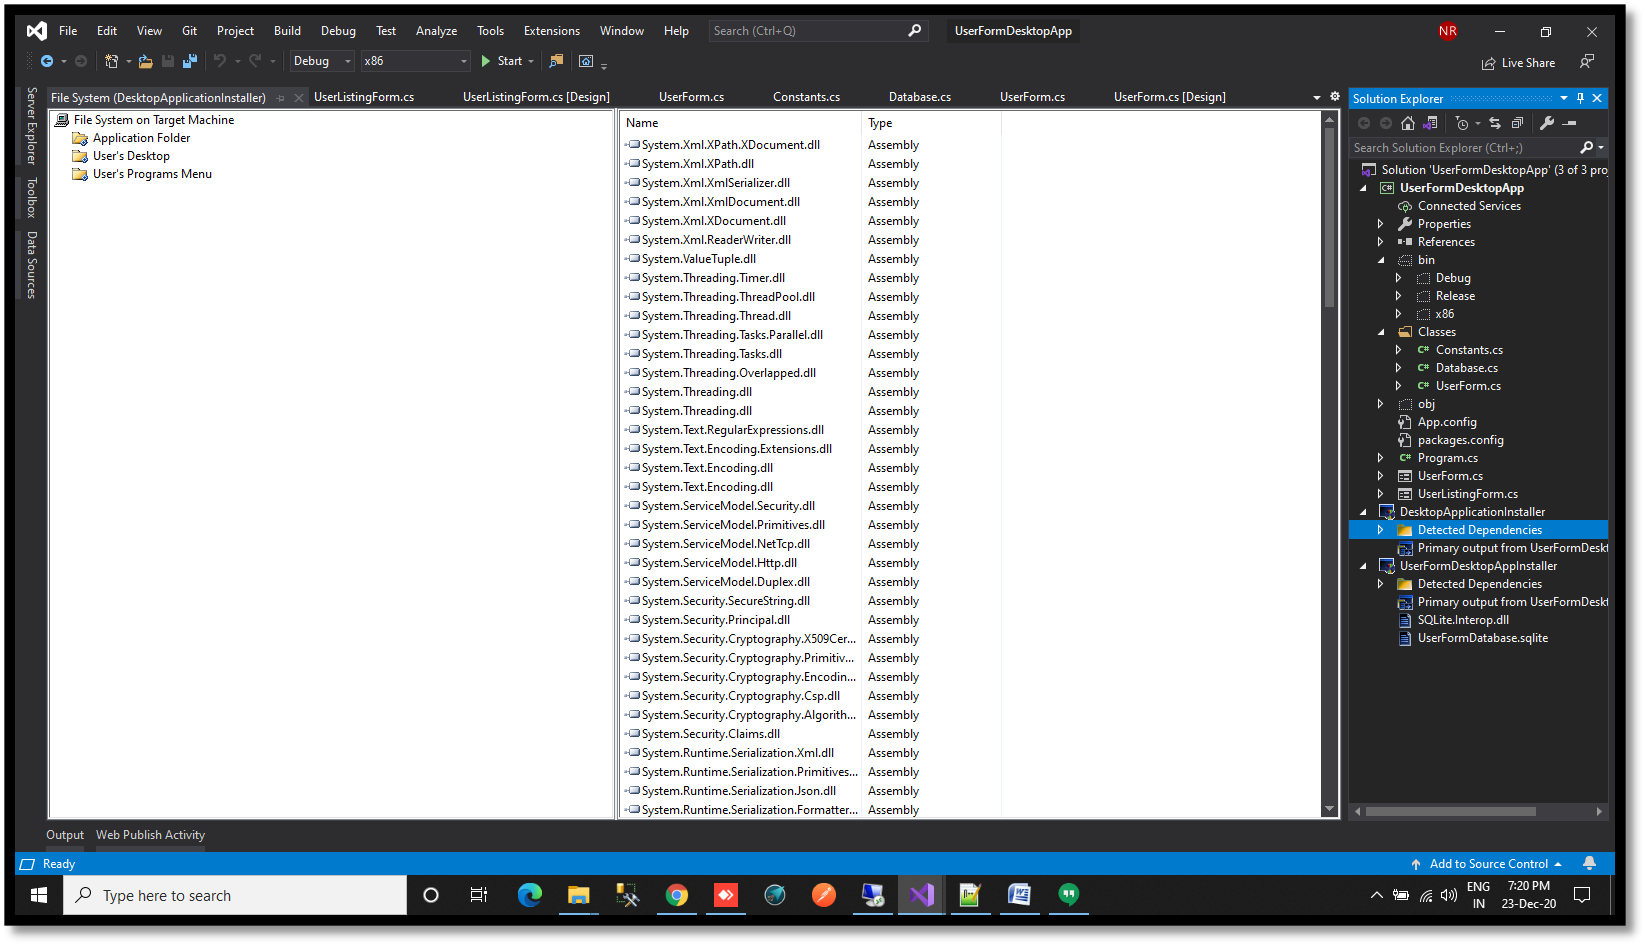](https://www.velsof.com/wp-content/uploads/2021/03/Picture10.png) Click on User’s Desktop -Right click on right section- click on Create New Shortcut -Double click on Application Folder -Select Primary Output option -Click Ok [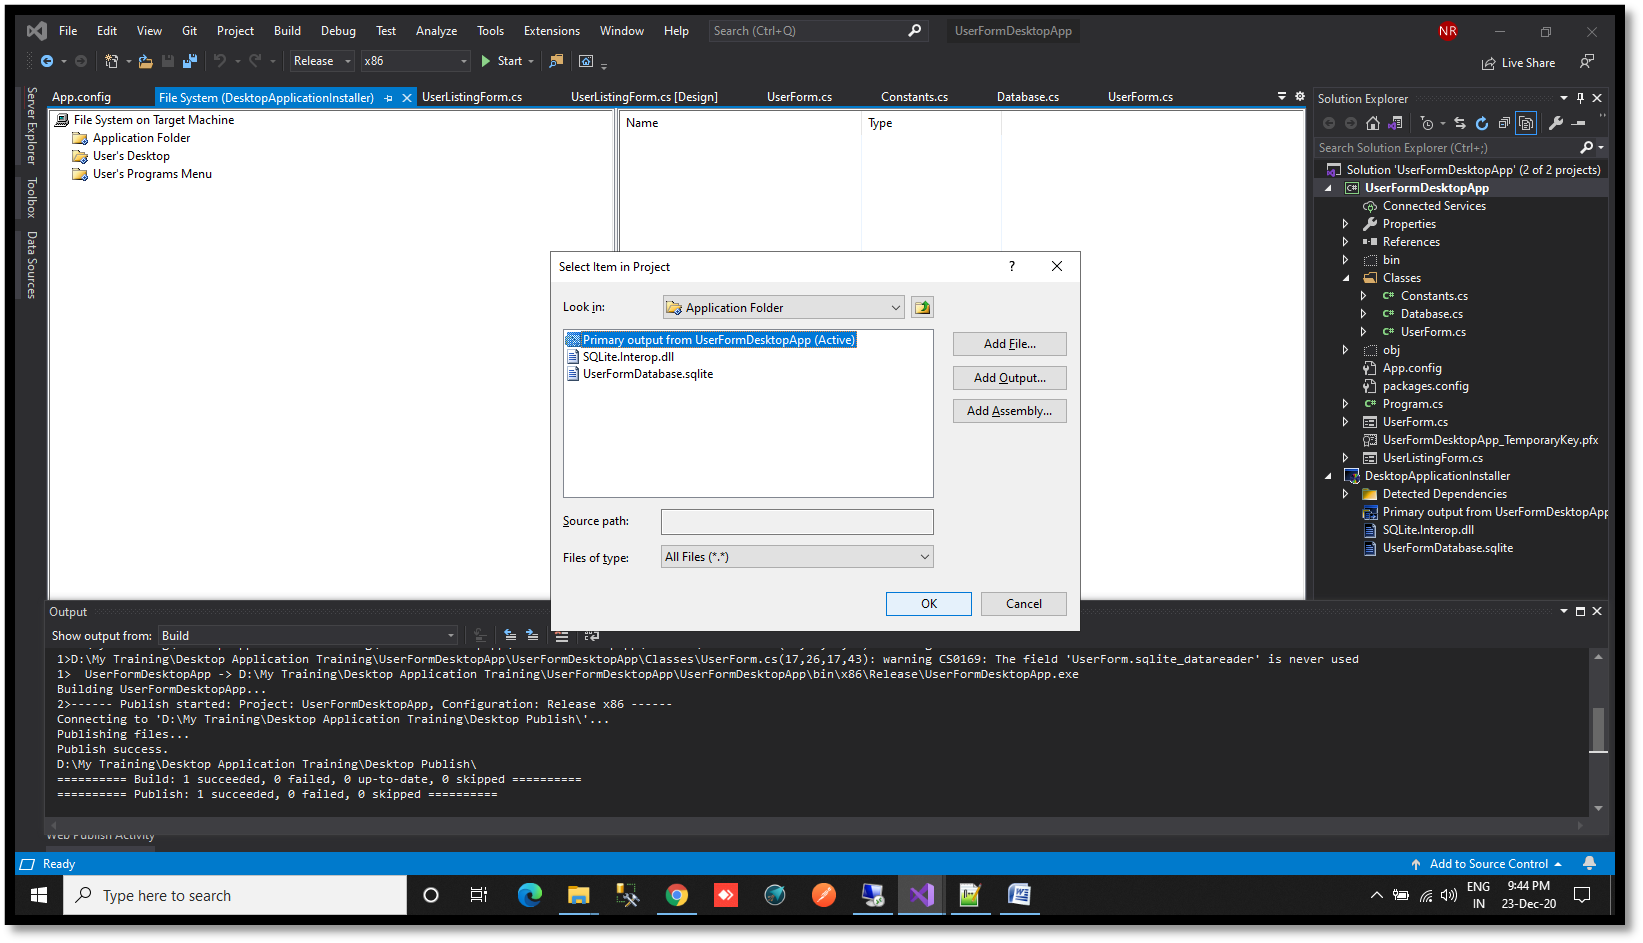](https://www.velsof.com/wp-content/uploads/2021/03/Picture11.png) Rename the file. The file name will shown to user when they download the application in their system. [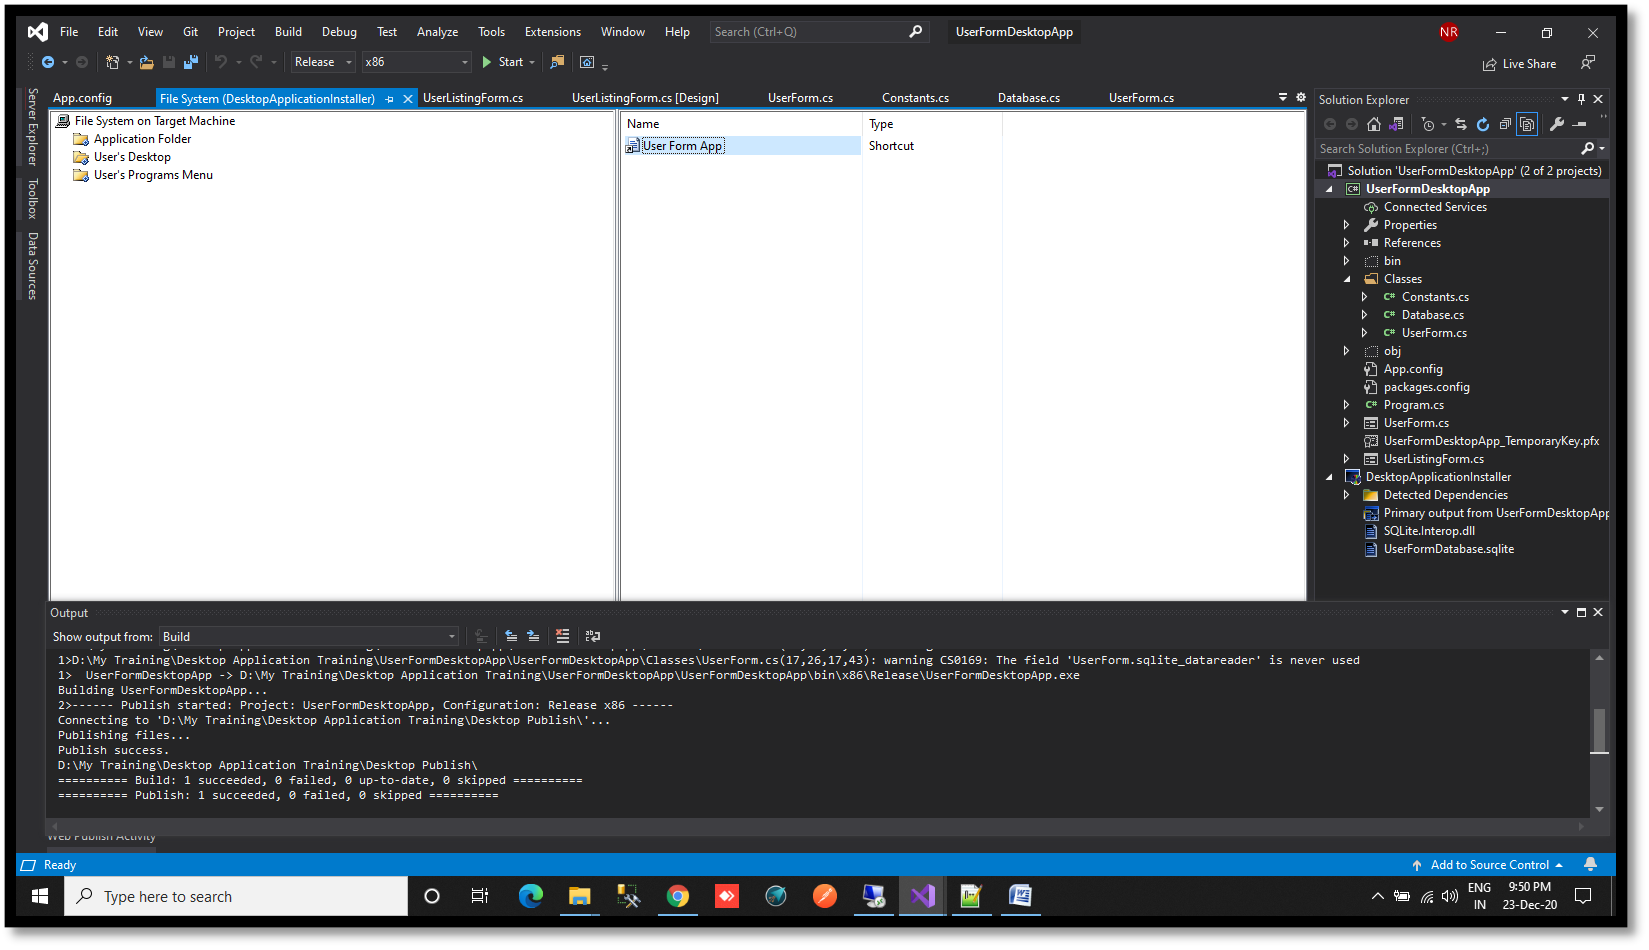](https://www.velsof.com/wp-content/uploads/2021/03/Picture12.png) Click on User’s Programs Menu- Right click on right section- click on Create New Shortcut- Double click on Application Folder -Select Primary Output option -Click Ok [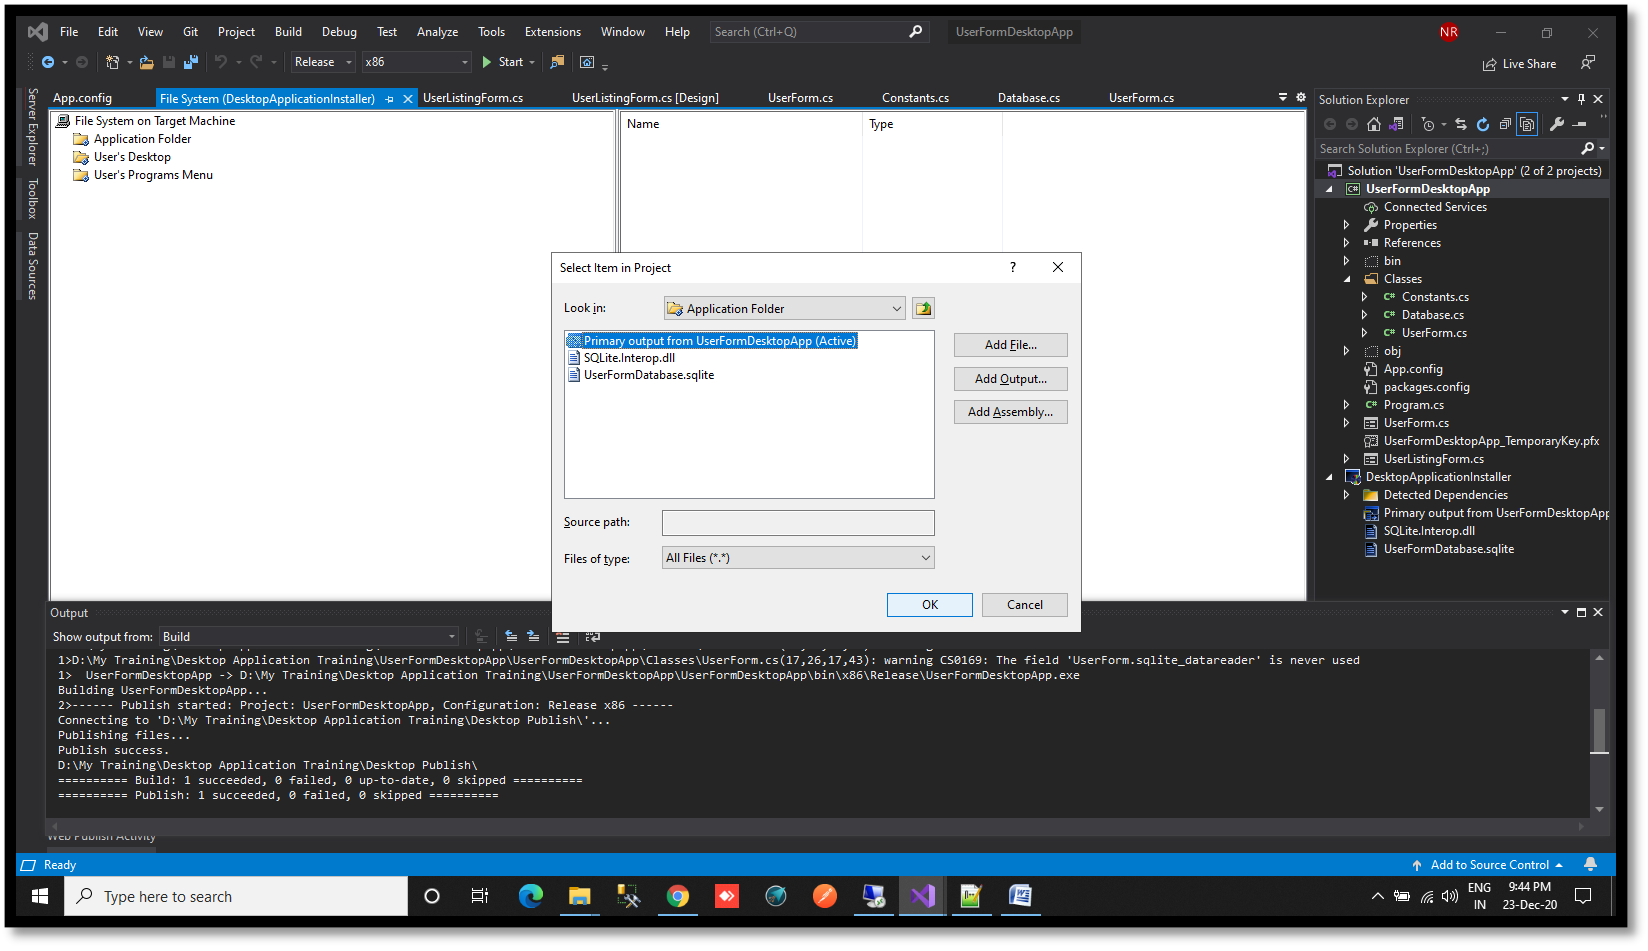](https://www.velsof.com/wp-content/uploads/2021/03/Picture13.png) Rename the file. [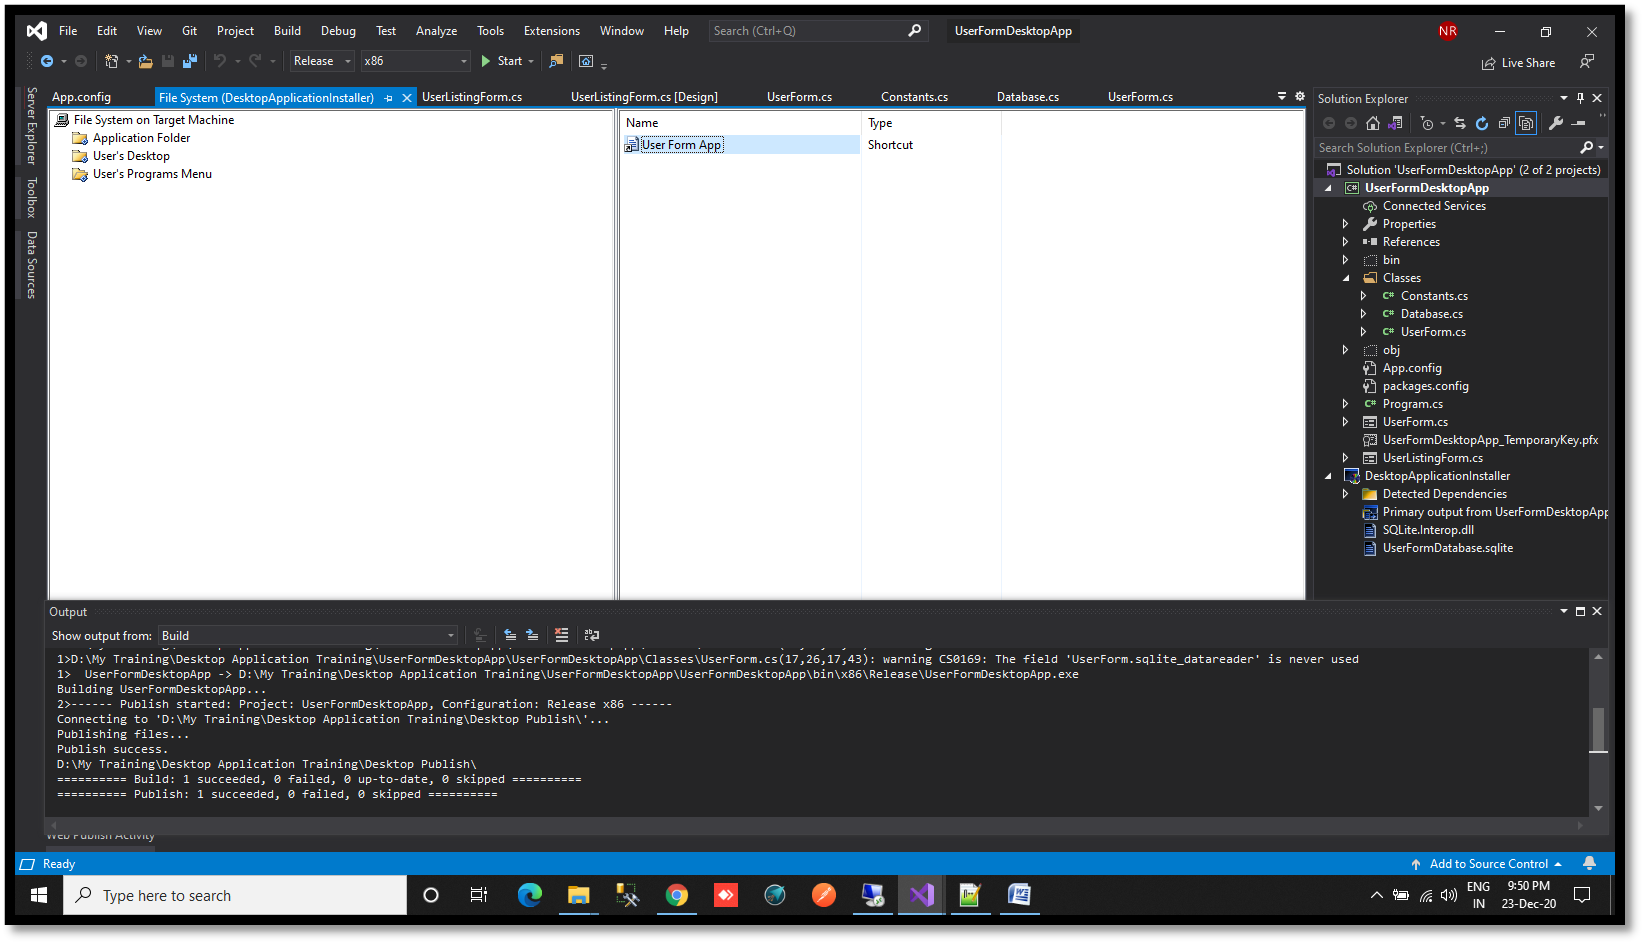](https://www.velsof.com/wp-content/uploads/2021/03/Picture14.png) Right click on Installer- Click Add Click Assembly [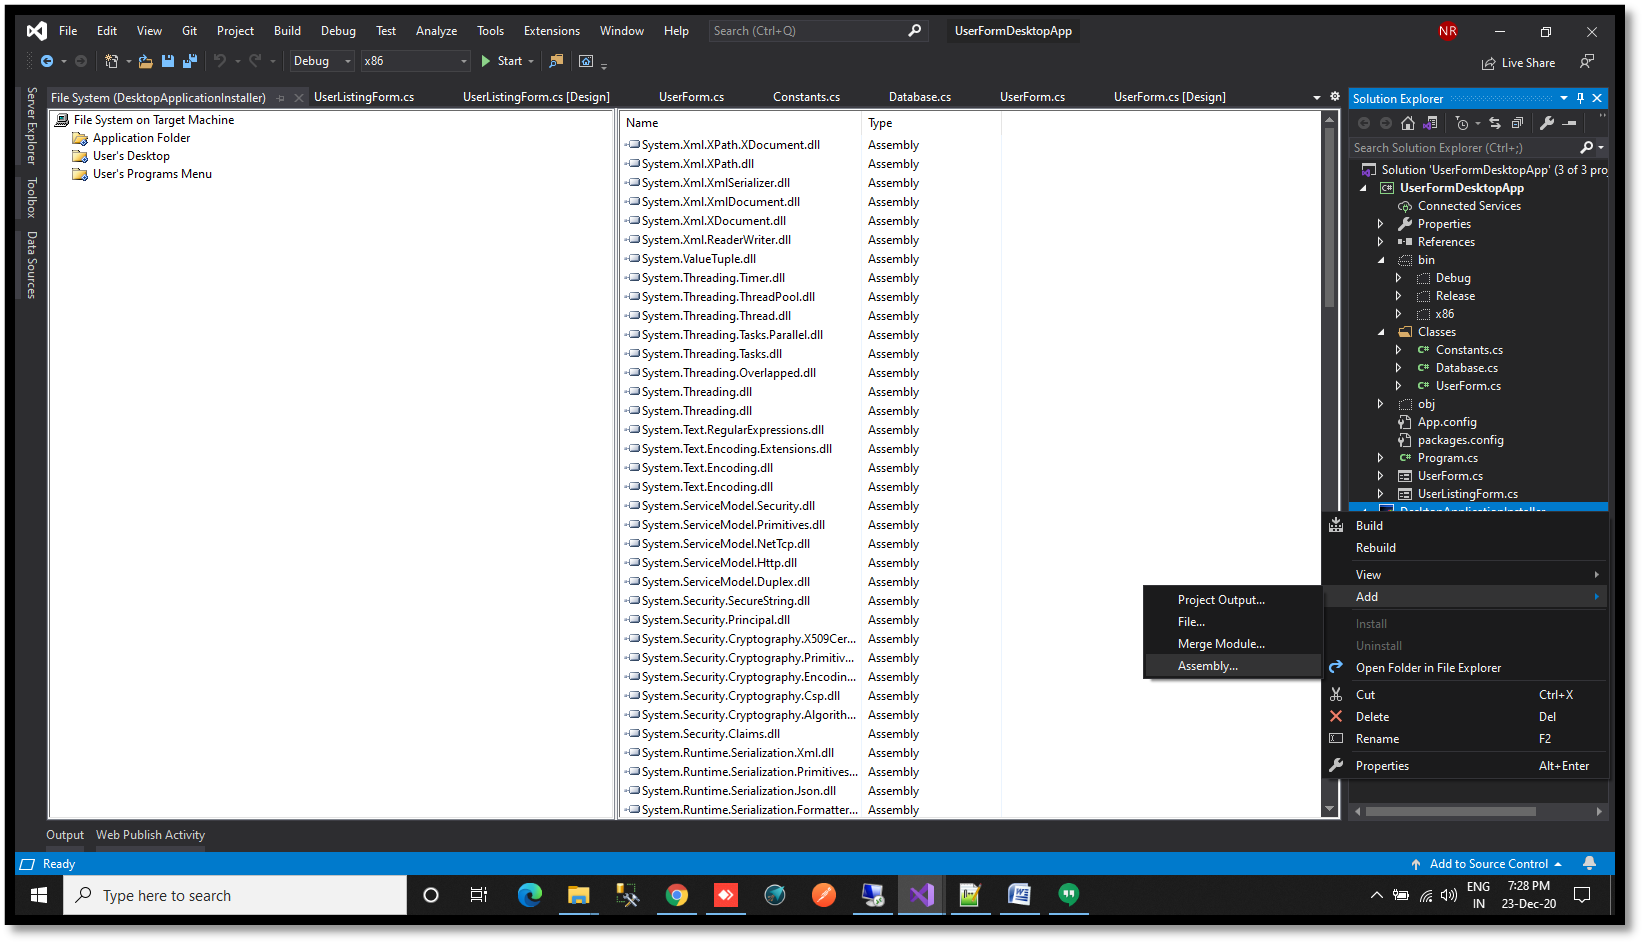](https://www.velsof.com/wp-content/uploads/2021/03/Picture15.png) Browse to SQLite.Interop.dll under x86/Debug/x86 folder. [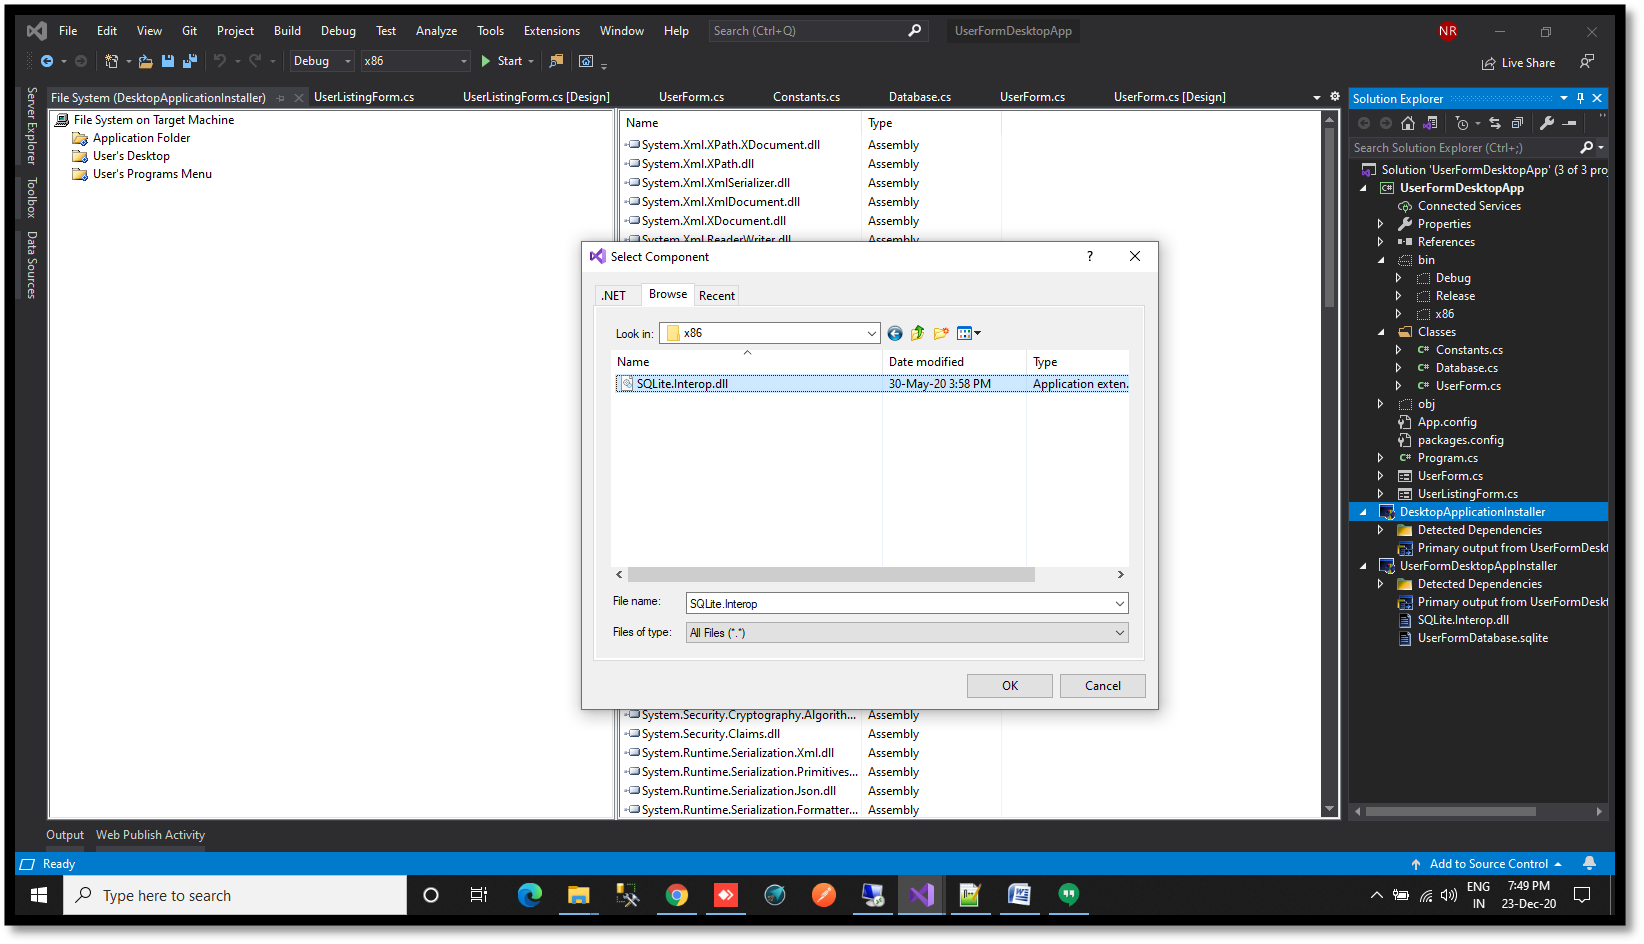](https://www.velsof.com/wp-content/uploads/2021/03/Picture16.png) Right click on Installer – Click Add -Click File [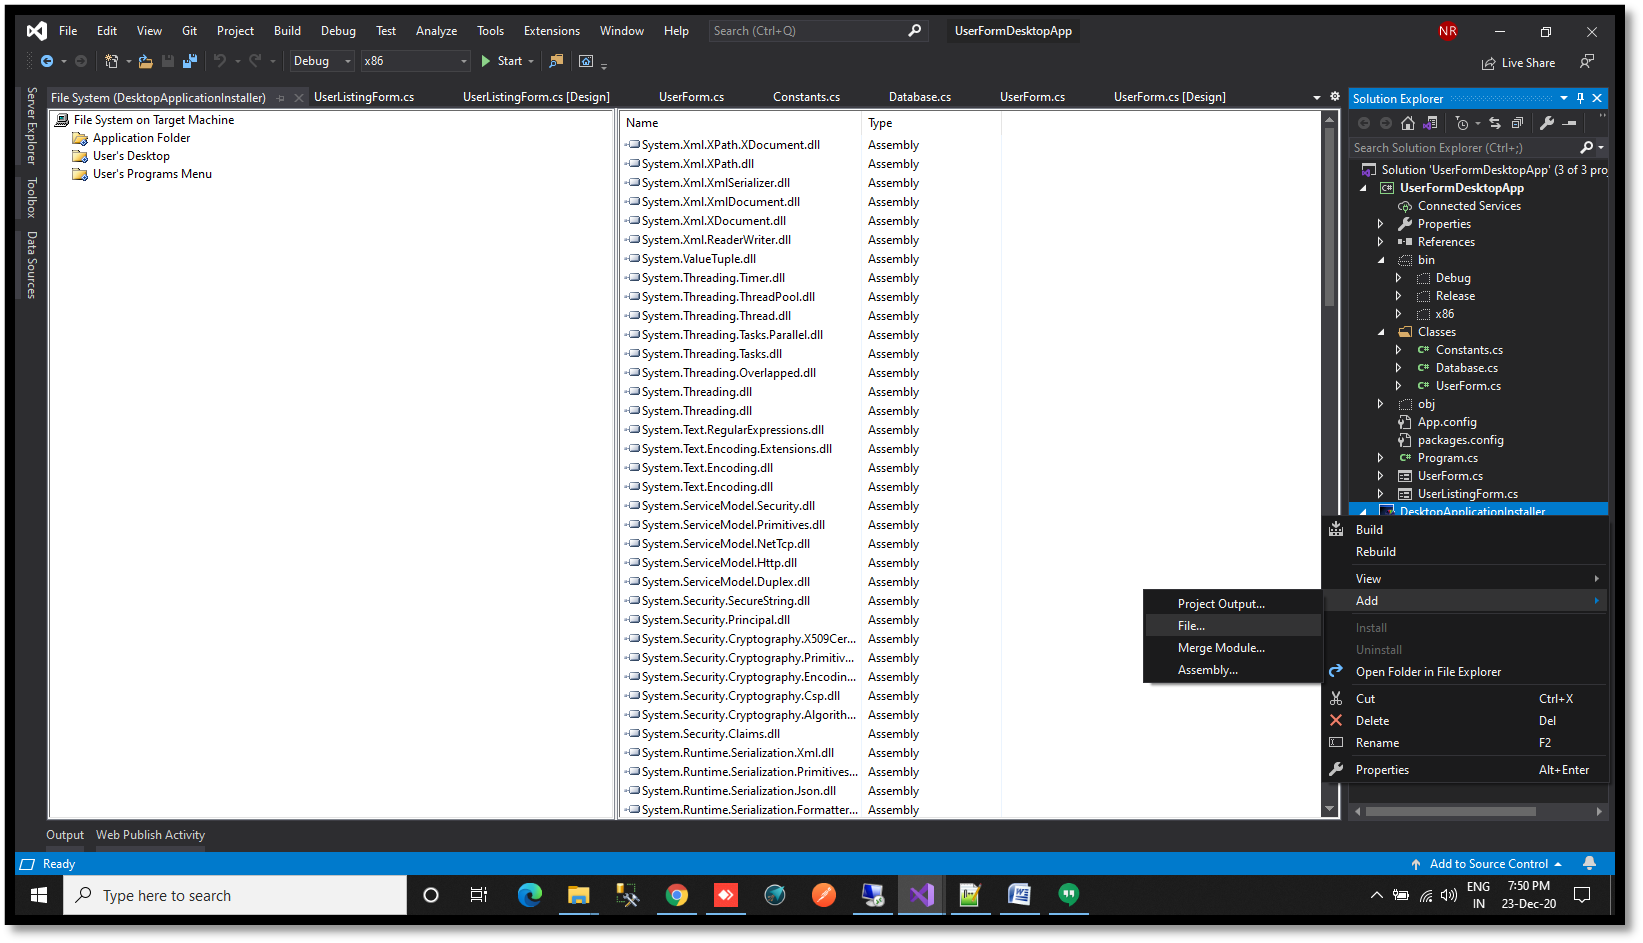](https://www.velsof.com/wp-content/uploads/2021/03/Picture17.png) Browse to database of the application to (bin/x86/Debug) – Click Open [](https://www.velsof.com/wp-content/uploads/2021/03/Picture18.png) Click on Installer -Press F4 key- Click on Product Code- Click New Code- Click Ok -Click Upgrade Code – Click New Code -Click Ok [](https://www.velsof.com/wp-content/uploads/2021/03/Picture19.png) Right click on Application Folder- Click Add- Click File -Browse to path of icon image- Click Open. [](https://www.velsof.com/wp-content/uploads/2021/03/Picture20.png) Click on Installer -Press F4 key -Click on AddRemoveProgramsIcons-Click on Browse- Click on Browse-Double click on Application Folder Select the icon image -Click Ok [](https://www.velsof.com/wp-content/uploads/2021/03/Picture21.png) Click on Installer -Press F4 key- Click on AuthorWrite Company Name (Velocity [Software Solutions](https://www.velsof.com/software-development/)) -Click on Manufacturer Write Company Name (Velocity Software Solutions) [](https://www.velsof.com/wp-content/uploads/2021/03/Picture22.png) Select Release mode from top bar- select x86 in next drop down If not present then add x86 by clicking configuration manager [](https://www.velsof.com/wp-content/uploads/2021/03/Picture23.png) Copy the database from bin- Debug to bin- x86 -Debug folder. Right click on Installer- Click Build Note – Kindly give write permission to folder where the application will be installed through exe. [](https://www.velsof.com/wp-content/uploads/2021/03/Picture24.png)[](https://www.velsof.com/wp-content/uploads/2021/03/Picture25.png) # Frequently Asked Questions ## What is the easiest way to create an .exe file from a desktop application? For Windows desktop applications built with .NET (C#, VB.NET), Visual Studio’s built-in **Setup Wizard** or the **Visual Studio Installer Projects** extension produces a .exe + .msi installer with minimal setup. For Python scripts, **PyInstaller** and **cx_Freeze** are the most common tools — both bundle the interpreter plus your script into a single .exe. For Java applications, **Launch4j** wraps a .jar inside a Windows-native .exe. For Electron apps (JavaScript/Node), **electron-builder** handles cross-platform .exe + .dmg + .deb output. The full Visual Studio Installer workflow shown above is best when you need MSI features (silent install, Group Policy deployment, uninstall registration). ## Can I create an .exe file without Visual Studio? Yes. Free alternatives include: **Inno Setup** (very popular Pascal-scripted installer, used by Audacity and PuTTY), **NSIS (Nullsoft Scriptable Install System)** (lighter installer, used by VLC and Notepad++), **Advanced Installer** (free tier available, GUI-driven), and **WiX Toolset** (XML-based, scriptable). All of these produce a single `setup.exe` that handles file copy, registry entries, and Start menu shortcuts without needing Visual Studio’s Installer Projects extension. ## How do I create an .exe file from a Python script? Install PyInstaller (`pip install pyinstaller`), then from your project directory run `pyinstaller --onefile --windowed your_script.py`. The `--onefile` flag bundles everything into a single .exe; `--windowed` suppresses the console window for GUI apps. The output appears in `dist/your_script.exe`. For richer installers (Start menu shortcut, file associations, uninstaller), pipe the PyInstaller output into Inno Setup or NSIS. ## What’s the difference between an .exe and an .msi installer? An **.exe** is a generic Windows executable — it can do anything (install software, run a portable app, launch a game). An **.msi** is a Microsoft Installer Package — a structured database of files, registry keys, and shortcuts that Windows Installer (msiexec.exe) reads and applies. The MSI format is preferred for enterprise deployment because it supports silent install (`msiexec /i app.msi /quiet`), Group Policy distribution, automatic uninstall registration in Add/Remove Programs, and roll-back on failure. Most installer tools produce *both*: a small bootstrapper .exe that wraps and launches the .msi. ## How do I convert a .app file (macOS) to an .exe file (Windows)? You can’t directly convert a .app — they’re built against different operating systems with different runtimes. The path is: recompile the source code for Windows. If the app was built in a cross-platform framework (Electron, .NET MAUI, Flutter, Qt, Java, Python with cross-platform GUI libraries), you can re-run the build process on Windows or with cross-compilation flags to produce an .exe. If it was built in Swift or Objective-C against macOS-only APIs (Cocoa, AppKit), you’d need to rewrite it. Tools like Wine can *run* some Windows .exe files on macOS, but there is no reverse tool that converts a .app to a working Windows .exe. ## Why won’t my .exe file run on another computer? The most common reasons: **(1) missing runtime dependencies** — your app needs the .NET Framework version it was built against, or the Visual C++ Redistributable, installed on the target machine. **(2) wrong architecture** — you built for x64 but the target is x86 (32-bit). Build for x86 to maximize compatibility. **(3) Windows SmartScreen / antivirus blocking** — unsigned executables trigger a warning. Sign your .exe with a code-signing certificate from a trusted CA (DigiCert, Sectigo, ~$200/year) to eliminate the warning. **(4) missing data files** — your installer didn’t copy a database, config file, or DLL that the app expects to find next to the .exe. **(5) hardcoded paths** — the app expects `C:\Users\YourName\...` but runs as a different user on the target. ## How do I sign my .exe file? Buy a code-signing certificate from a Certificate Authority (DigiCert, Sectigo, GlobalSign — usually $150–500/year for a standard cert, $300–700/year for EV which avoids SmartScreen warnings even at first install). After validation (a few hours for standard, 1–3 days for EV), you receive the cert as a .pfx or a hardware token. Use `signtool.exe` (ships with Windows SDK) to sign: `signtool sign /f cert.pfx /p password /t http://timestamp.digicert.com your_app.exe`. Signed executables show your company name in the UAC prompt and don’t trigger SmartScreen warnings for established publishers.