--- title: Know How to Create exe for the desktop application url: https://www.velsof.com/blog/create-exe-for-the-desktop-application/ date: 2026-03-16 type: blog_post author: Velocity Software Solutions categories: Blog tags: .exe for the desktop application, Desktop Application --- ## 1. Introduction This document describes how to create the exe for the[desktop application](https://www.velsof.com/). ## 2. Executable file (exe file) An executable file (exe file) is a computer file that contains an encoded sequence of instructions that the system can execute directly when the user clicks the file icon. ## 3. How to create the exe file for application For creating the exe file for the application: Go to the solution of the project -press right button of mouse and click on Add option- click on New Project. [](https://www.velsof.com/wp-content/uploads/2021/03/Picture1.png) Search setup in the next window occur -click on Setup Project [](https://www.velsof.com/wp-content/uploads/2021/03/Picture2.png) If the Setup Project option not found then add the extension while clicking on the extension option in top bar – click on Manage Extensions [](https://www.velsof.com/wp-content/uploads/2021/03/Picture3.png) Add Microsoft Visual Studio Installer Projects extension in visual studios [](https://www.velsof.com/wp-content/uploads/2021/03/Picture4.png) If the Setup Project option is present there -Click on Next [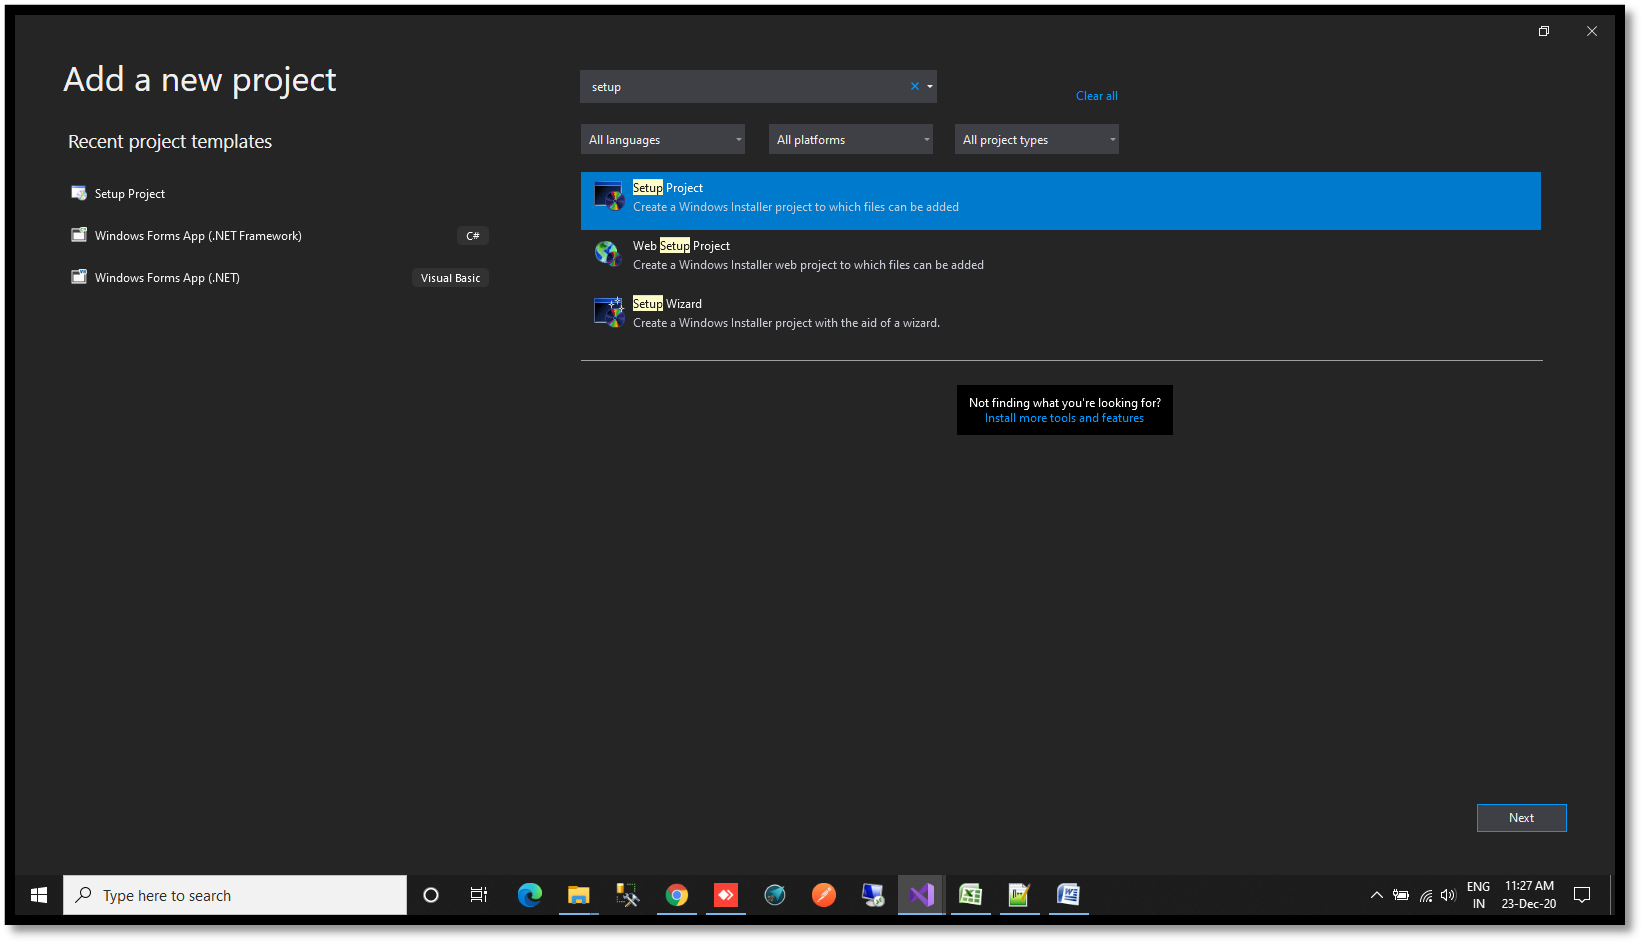](https://www.velsof.com/wp-content/uploads/2021/03/Picture5.png) Provide the name to the setup -Click on Create [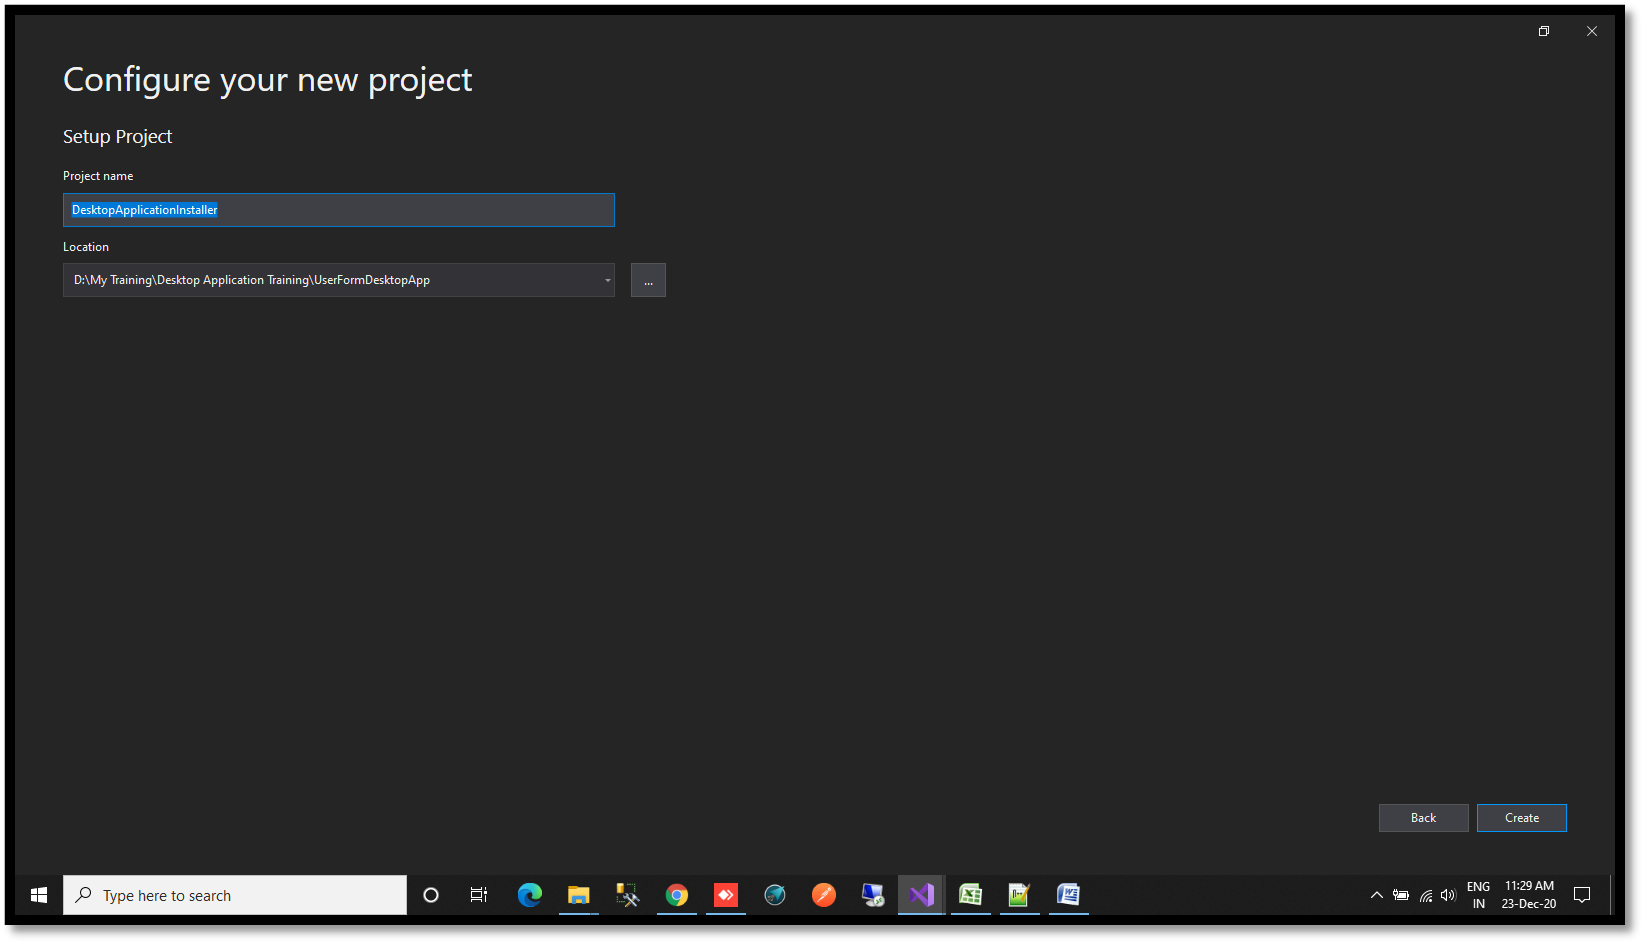](https://www.velsof.com/wp-content/uploads/2021/03/Picture6.png) A new interface will shown to you [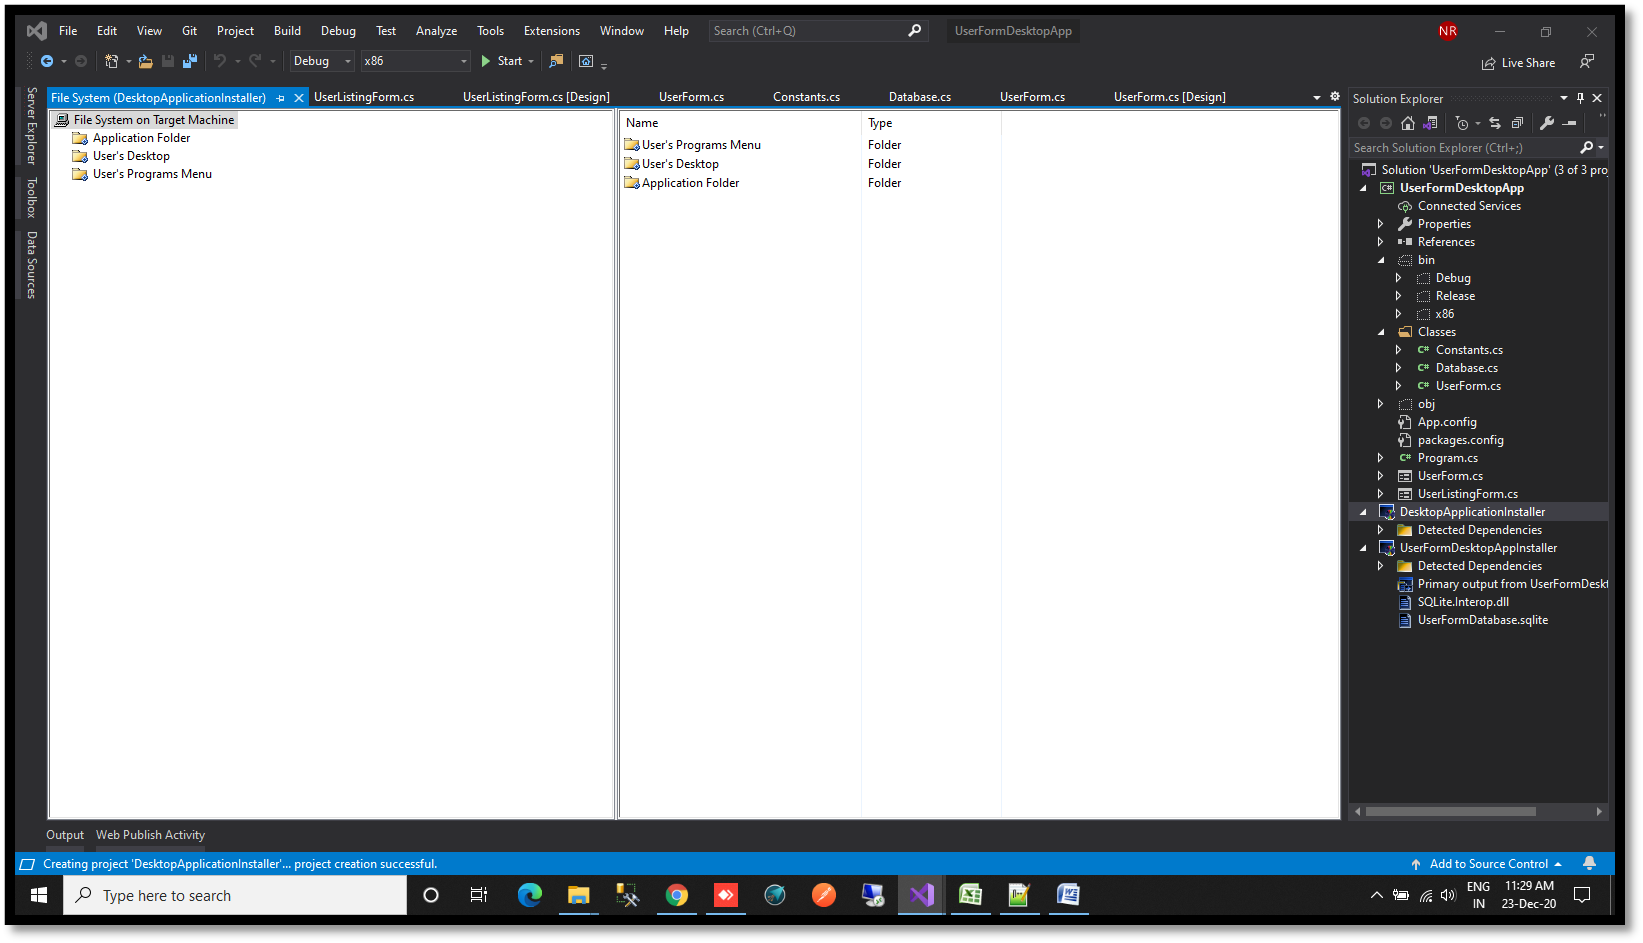](https://www.velsof.com/wp-content/uploads/2021/03/Picture7.png) Right Click on Application folder -Click on Add – Project Output [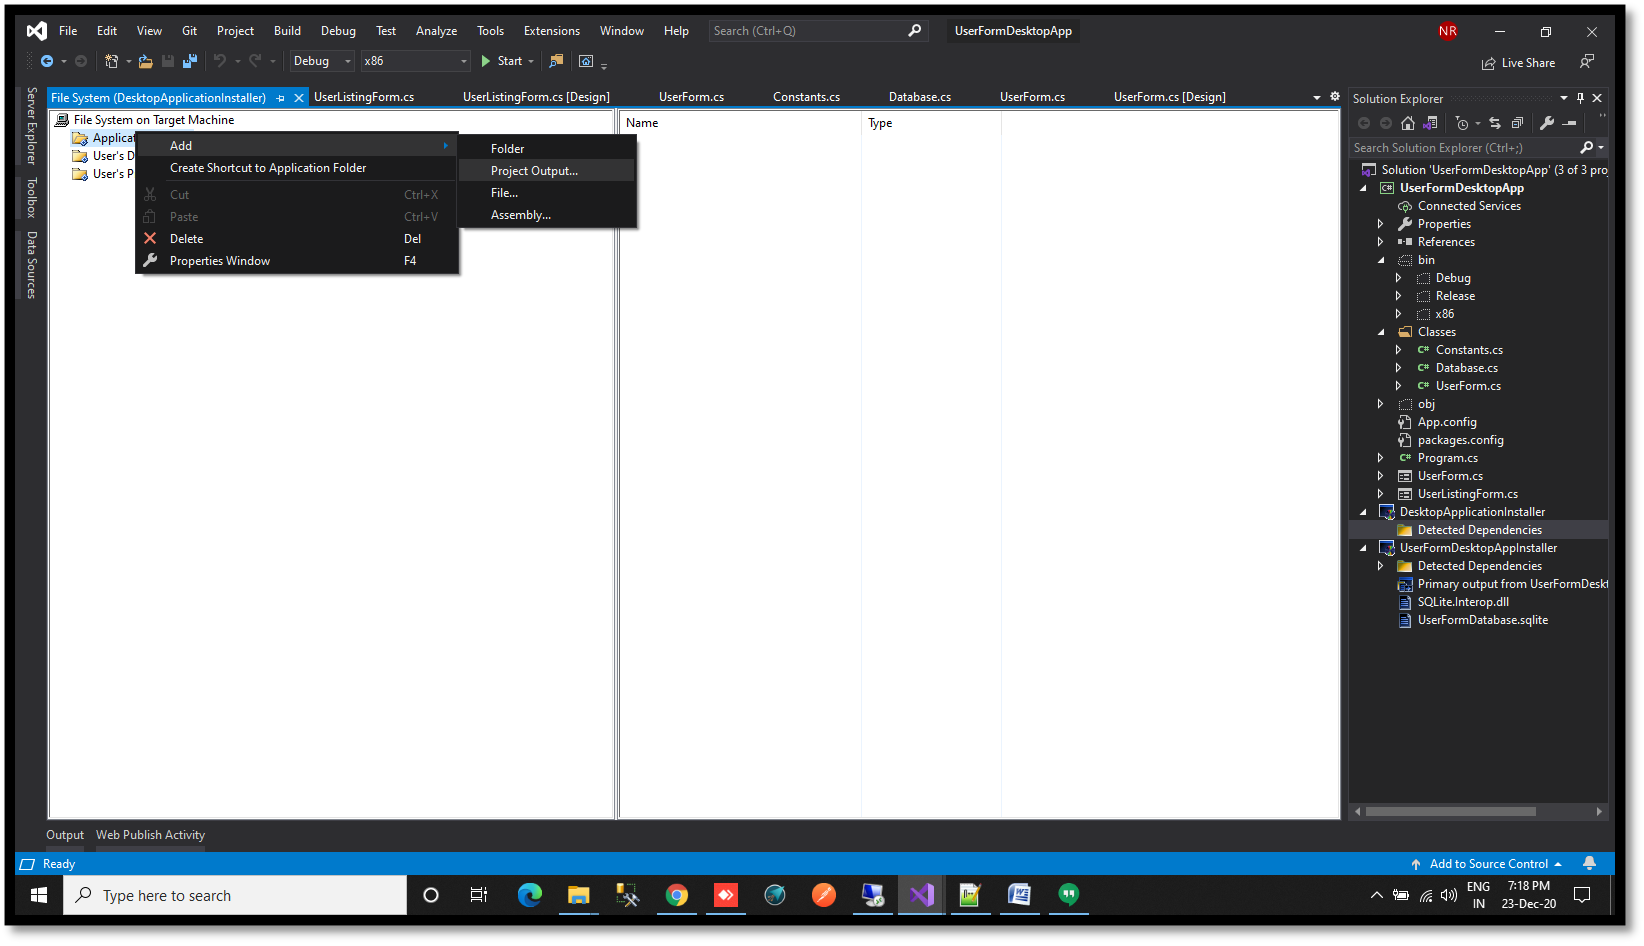](https://www.velsof.com/wp-content/uploads/2021/03/Picture8.png) A new window will open -Click on Primary Output – Click Ok [](https://www.velsof.com/wp-content/uploads/2021/03/Picture9.png) Multiple files will shown in the right section of the screen [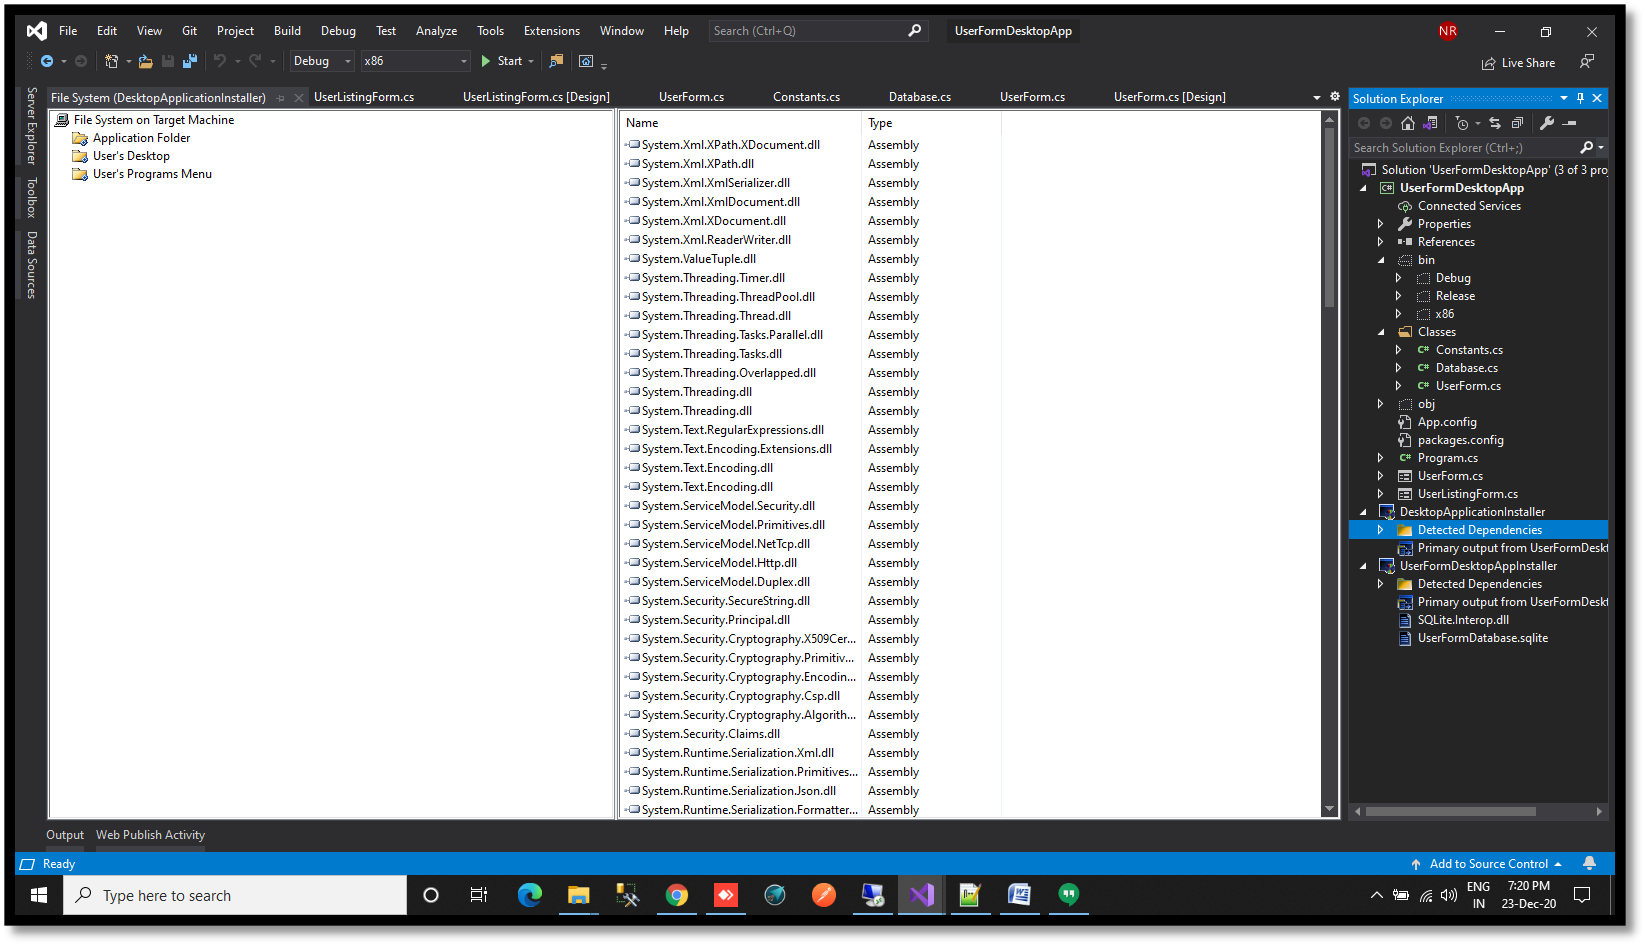](https://www.velsof.com/wp-content/uploads/2021/03/Picture10.png) Click on User’s Desktop -Right click on right section- click on Create New Shortcut -Double click on Application Folder -Select Primary Output option -Click Ok [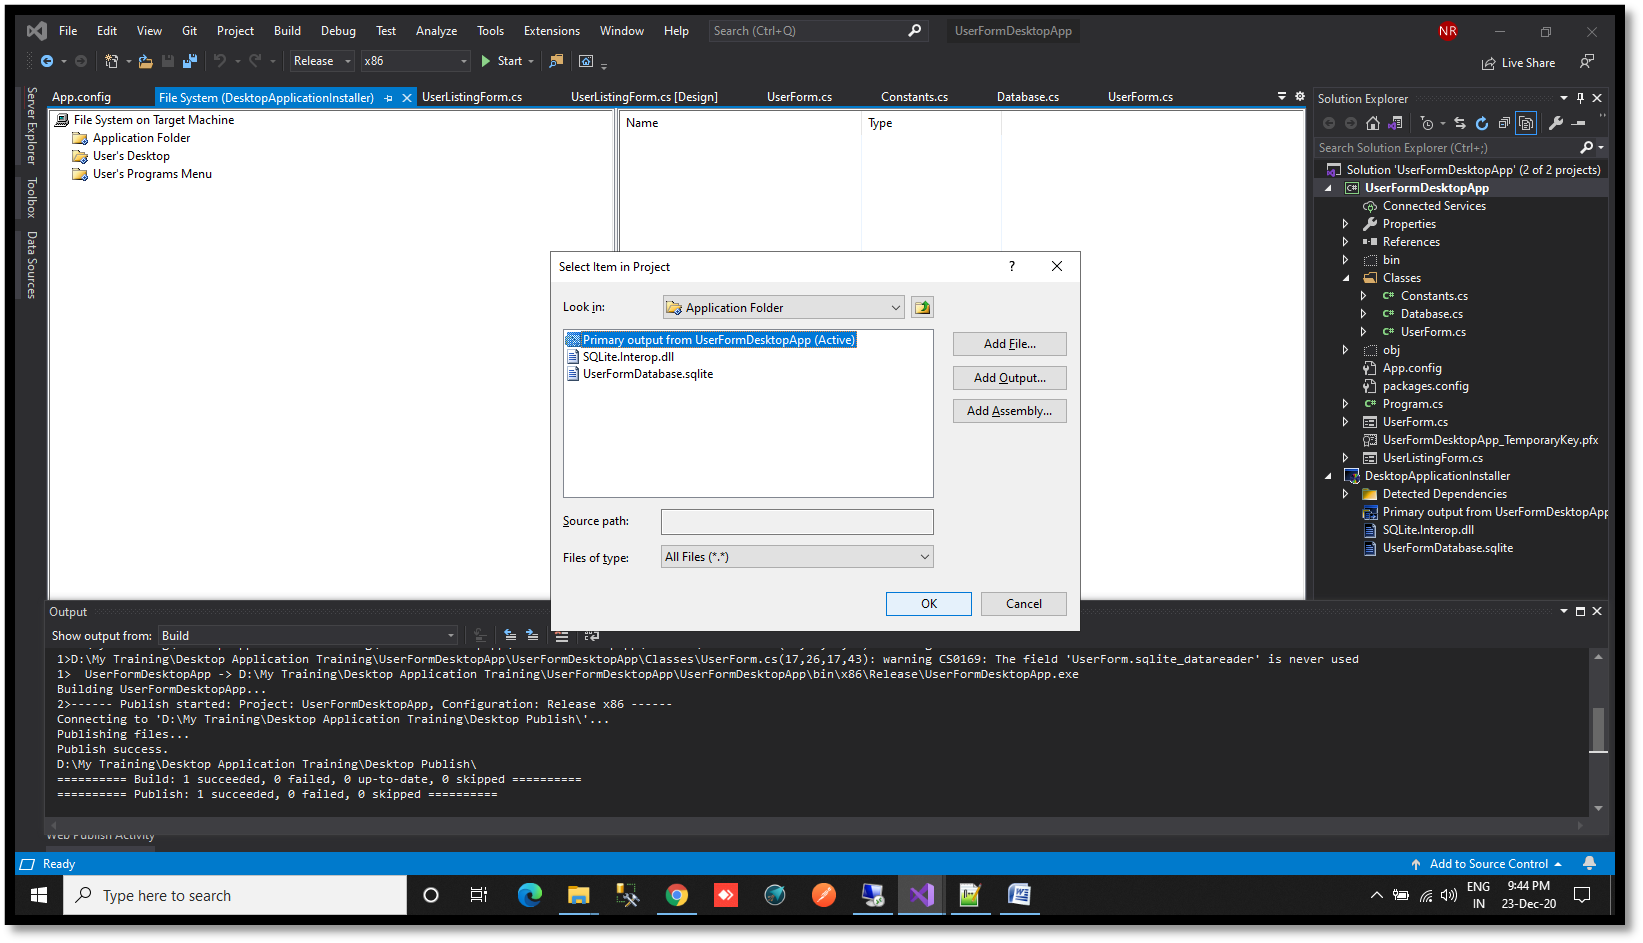](https://www.velsof.com/wp-content/uploads/2021/03/Picture11.png) Rename the file. The file name will shown to user when they download the application in their system. [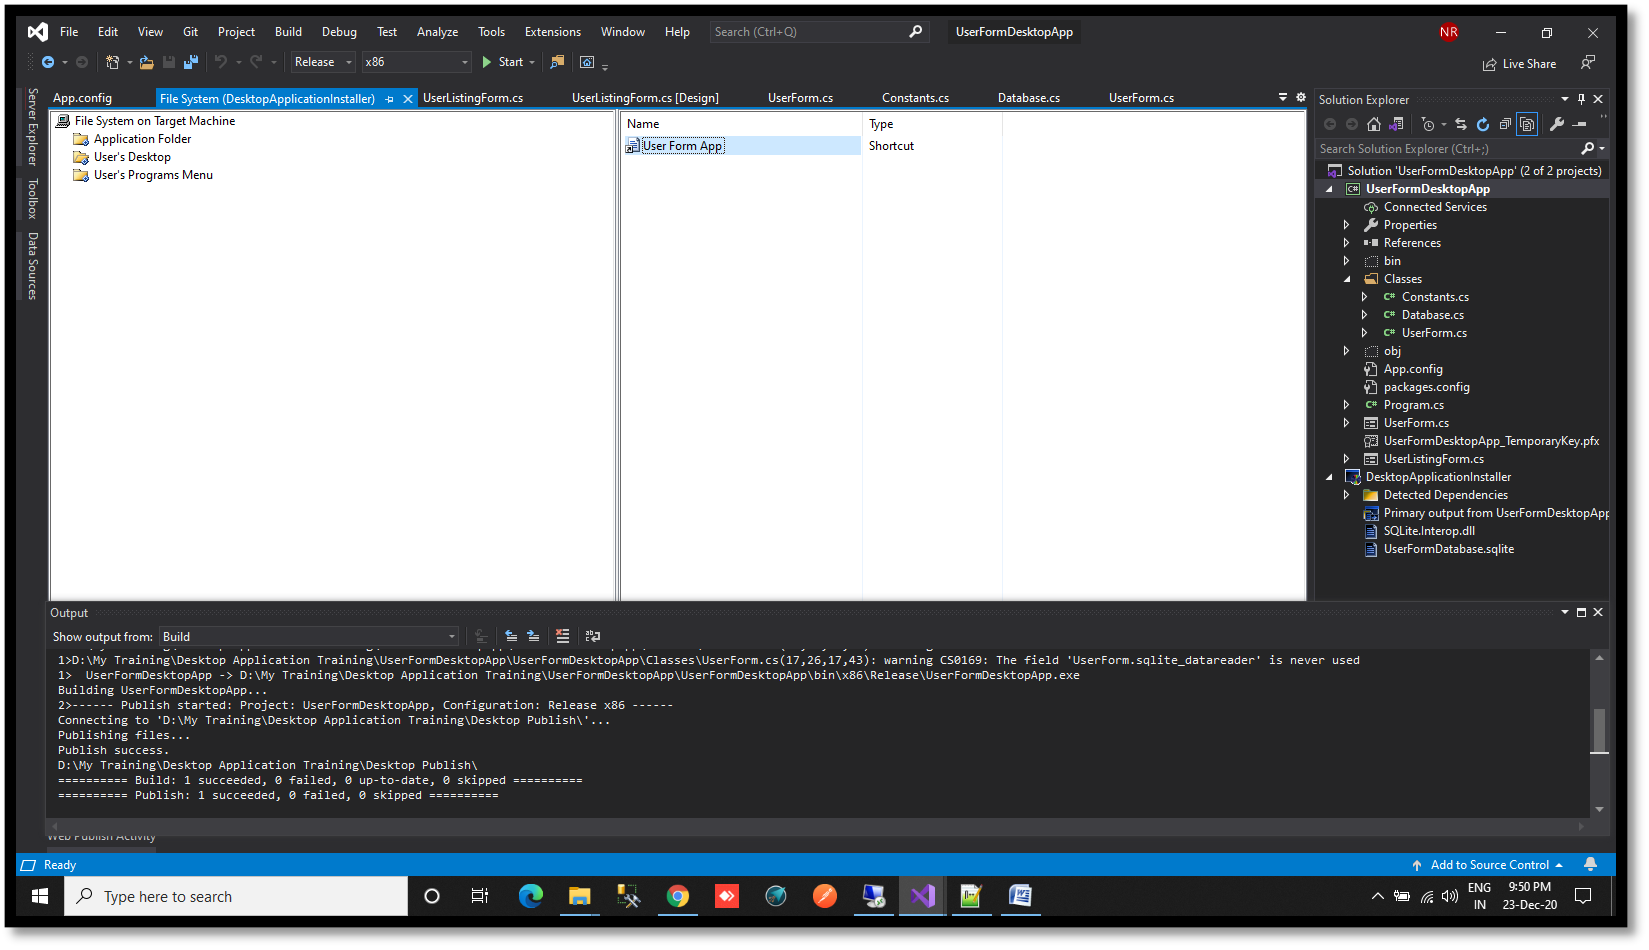](https://www.velsof.com/wp-content/uploads/2021/03/Picture12.png) Click on User’s Programs Menu- Right click on right section- click on Create New Shortcut- Double click on Application Folder -Select Primary Output option -Click Ok [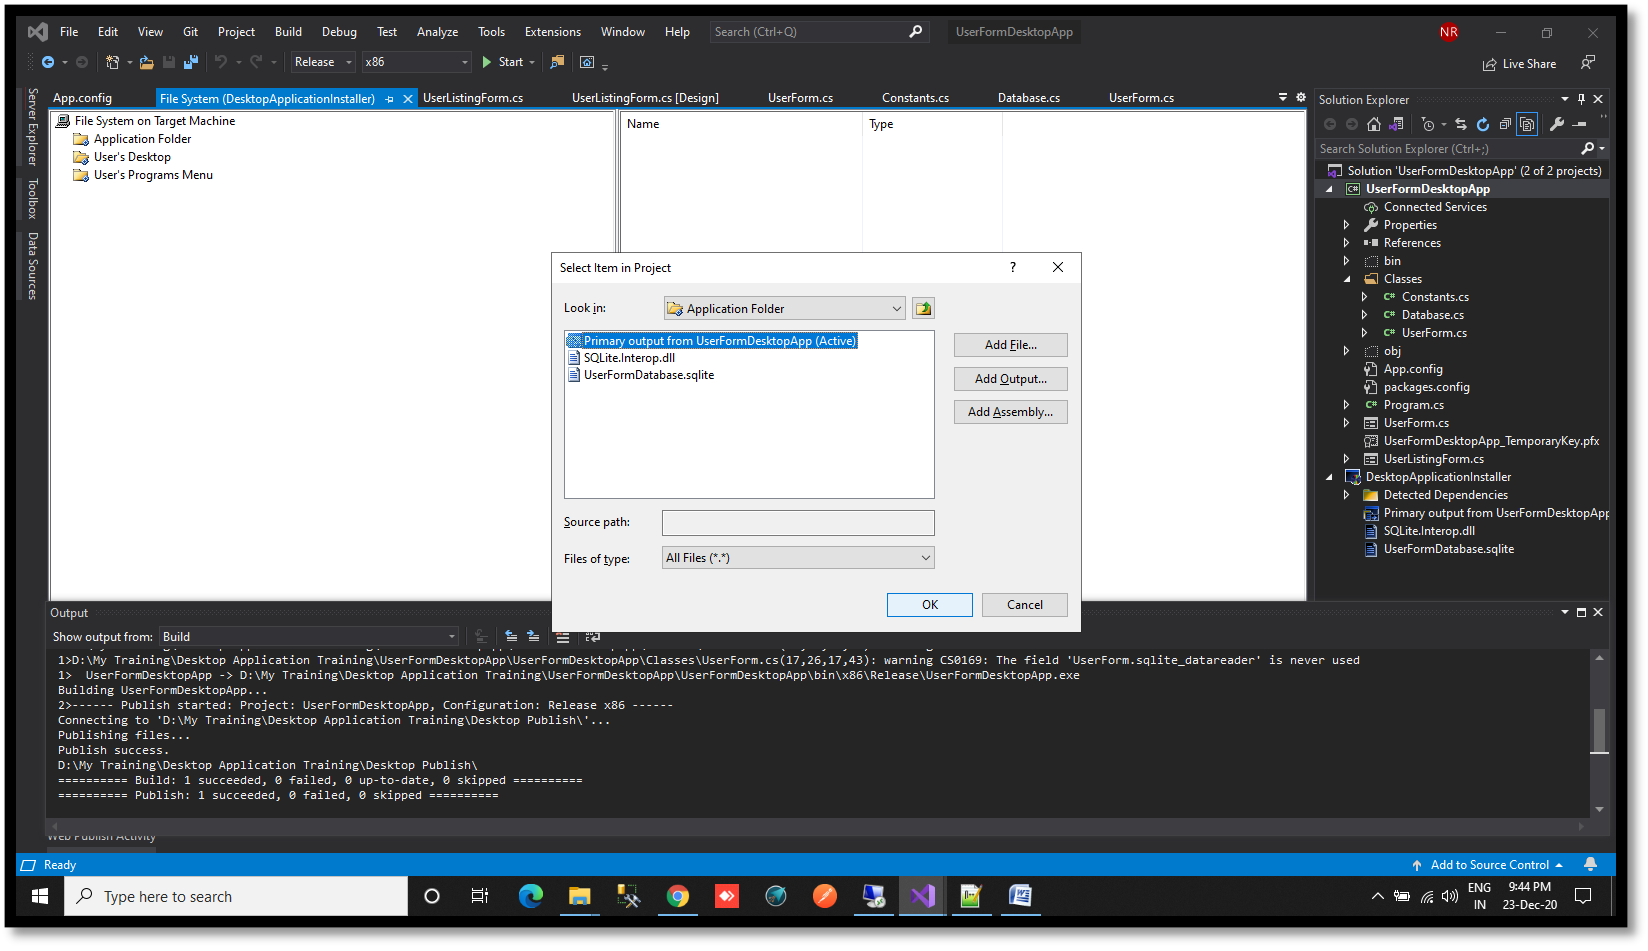](https://www.velsof.com/wp-content/uploads/2021/03/Picture13.png) Rename the file. [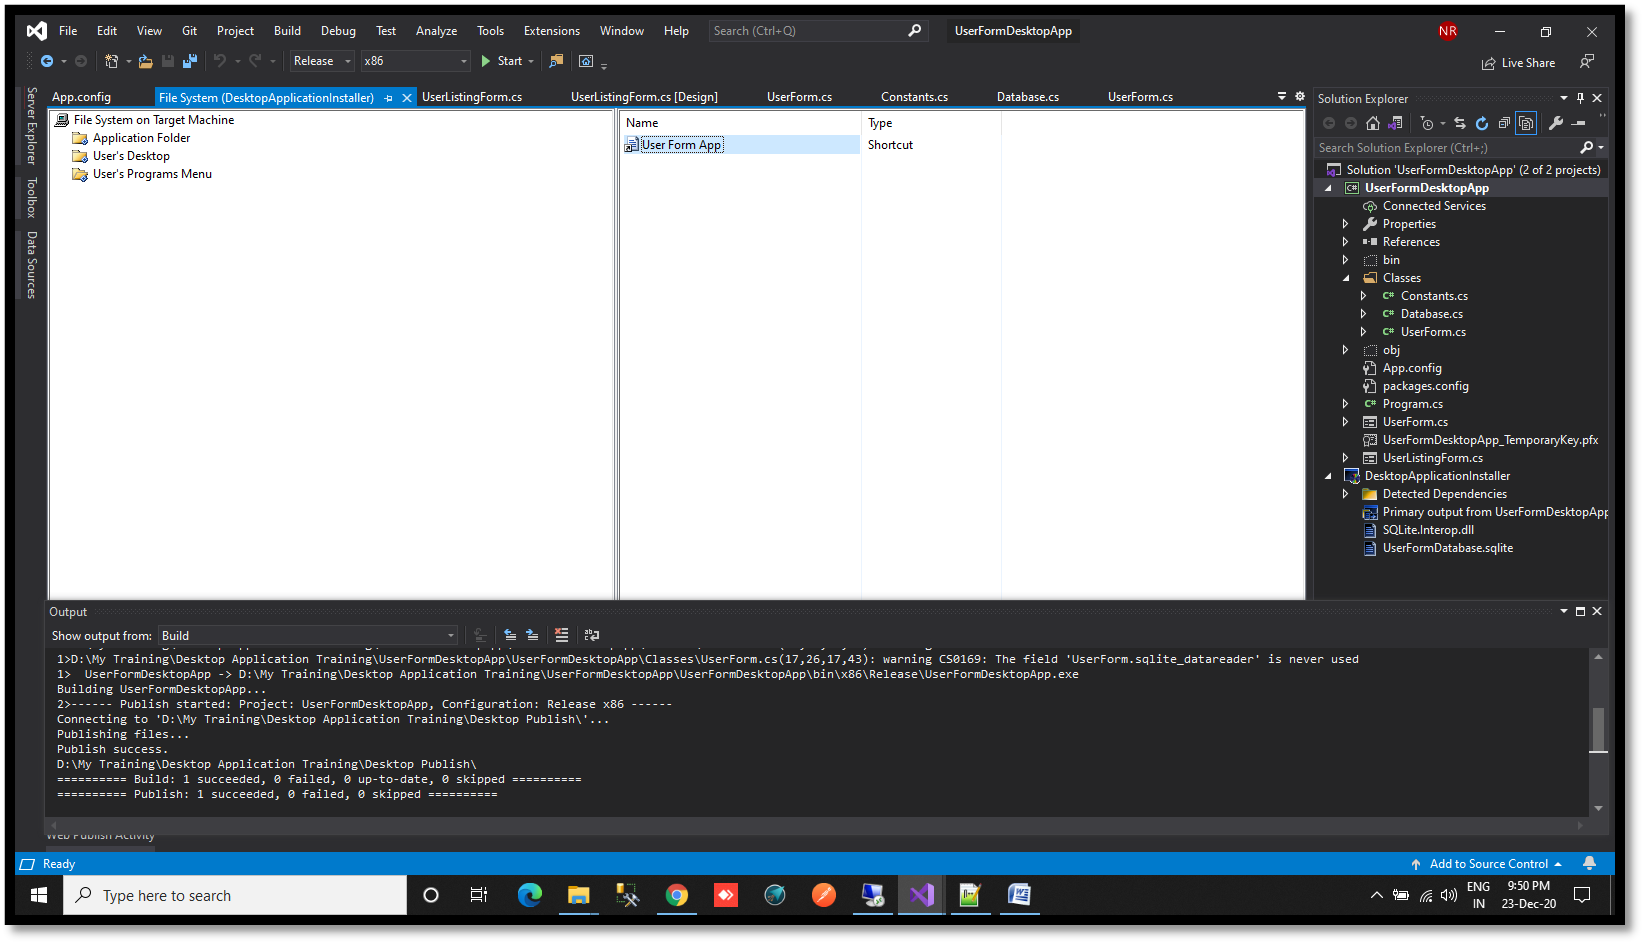](https://www.velsof.com/wp-content/uploads/2021/03/Picture14.png) Right click on Installer- Click Add Click Assembly [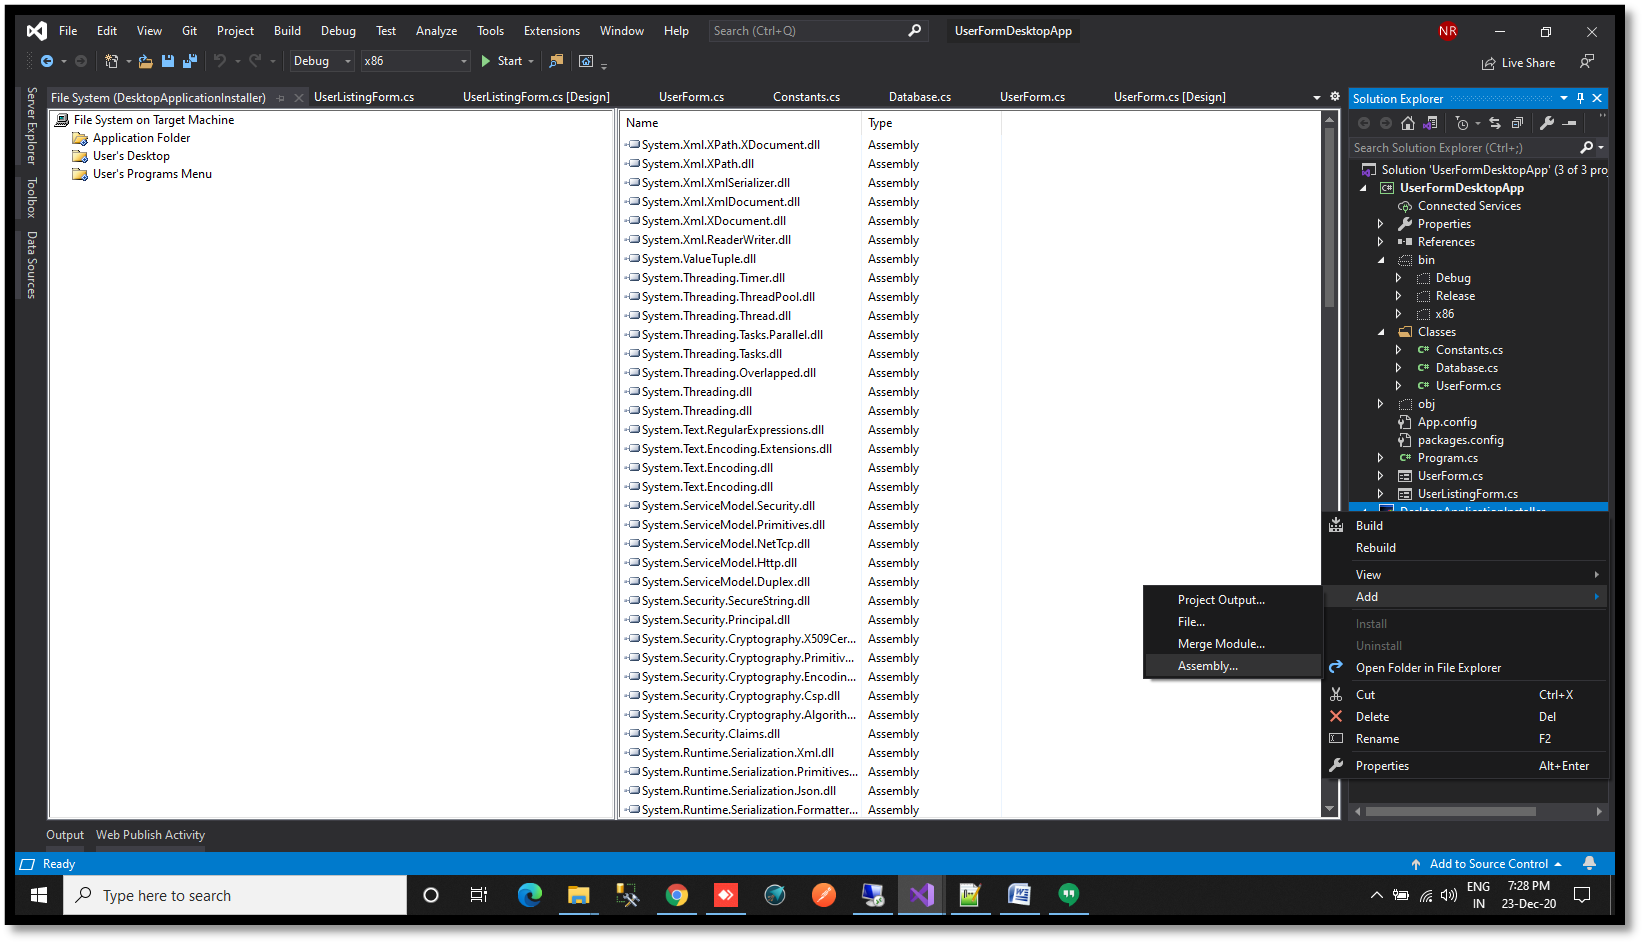](https://www.velsof.com/wp-content/uploads/2021/03/Picture15.png) Browse to SQLite.Interop.dll under x86/Debug/x86 folder. [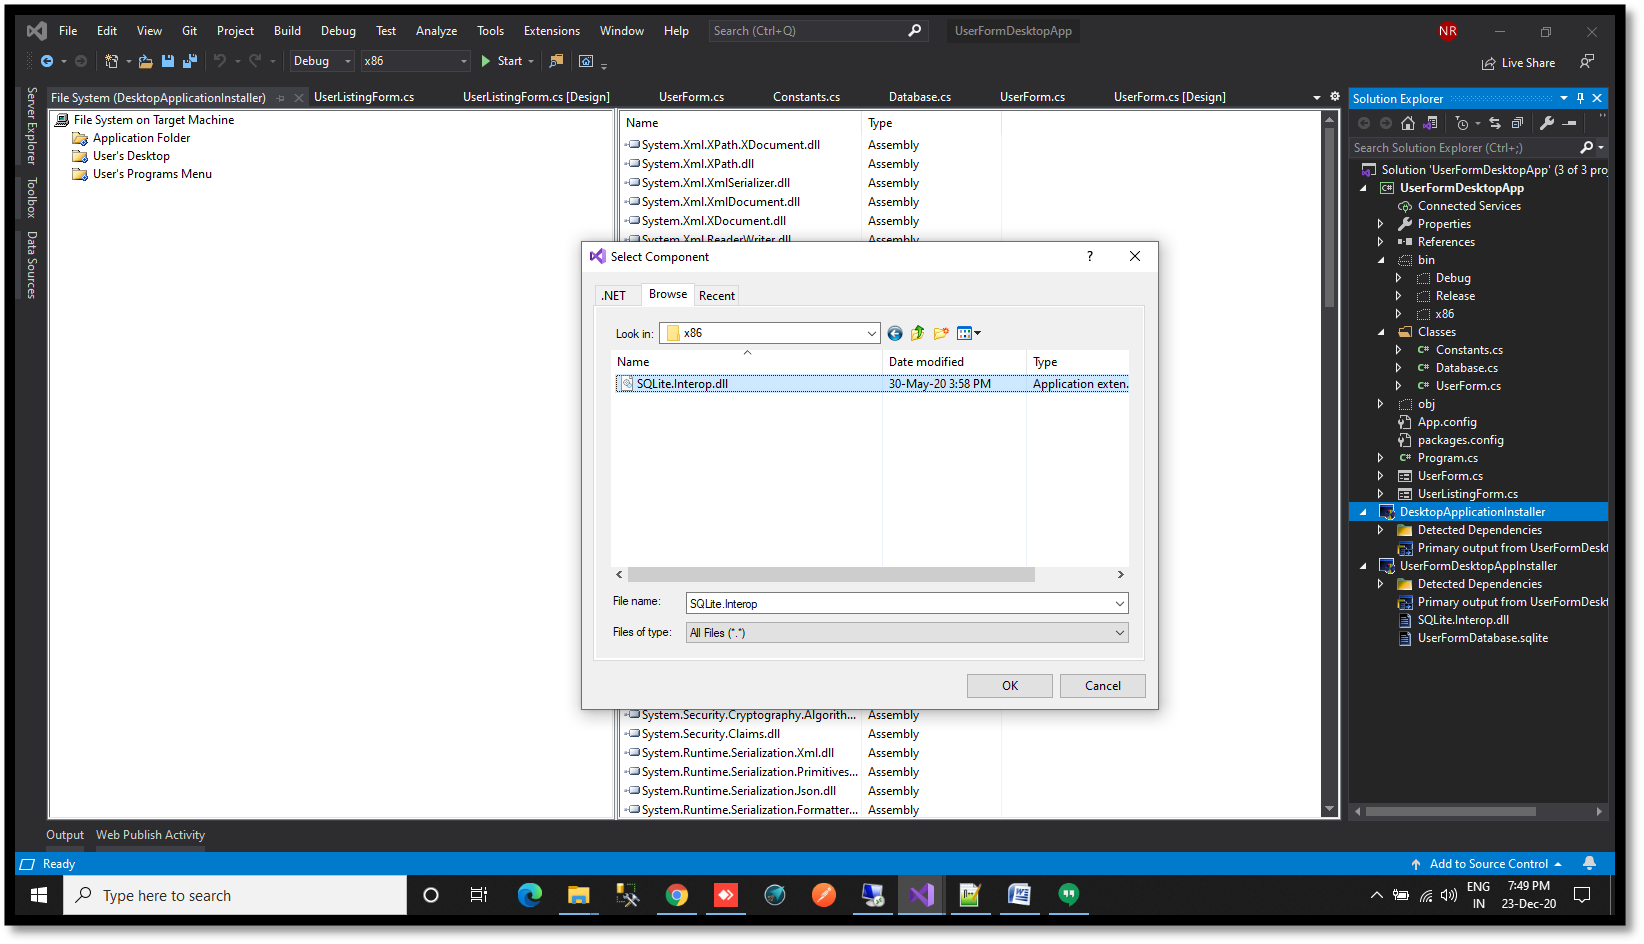](https://www.velsof.com/wp-content/uploads/2021/03/Picture16.png) Right click on Installer – Click Add -Click File [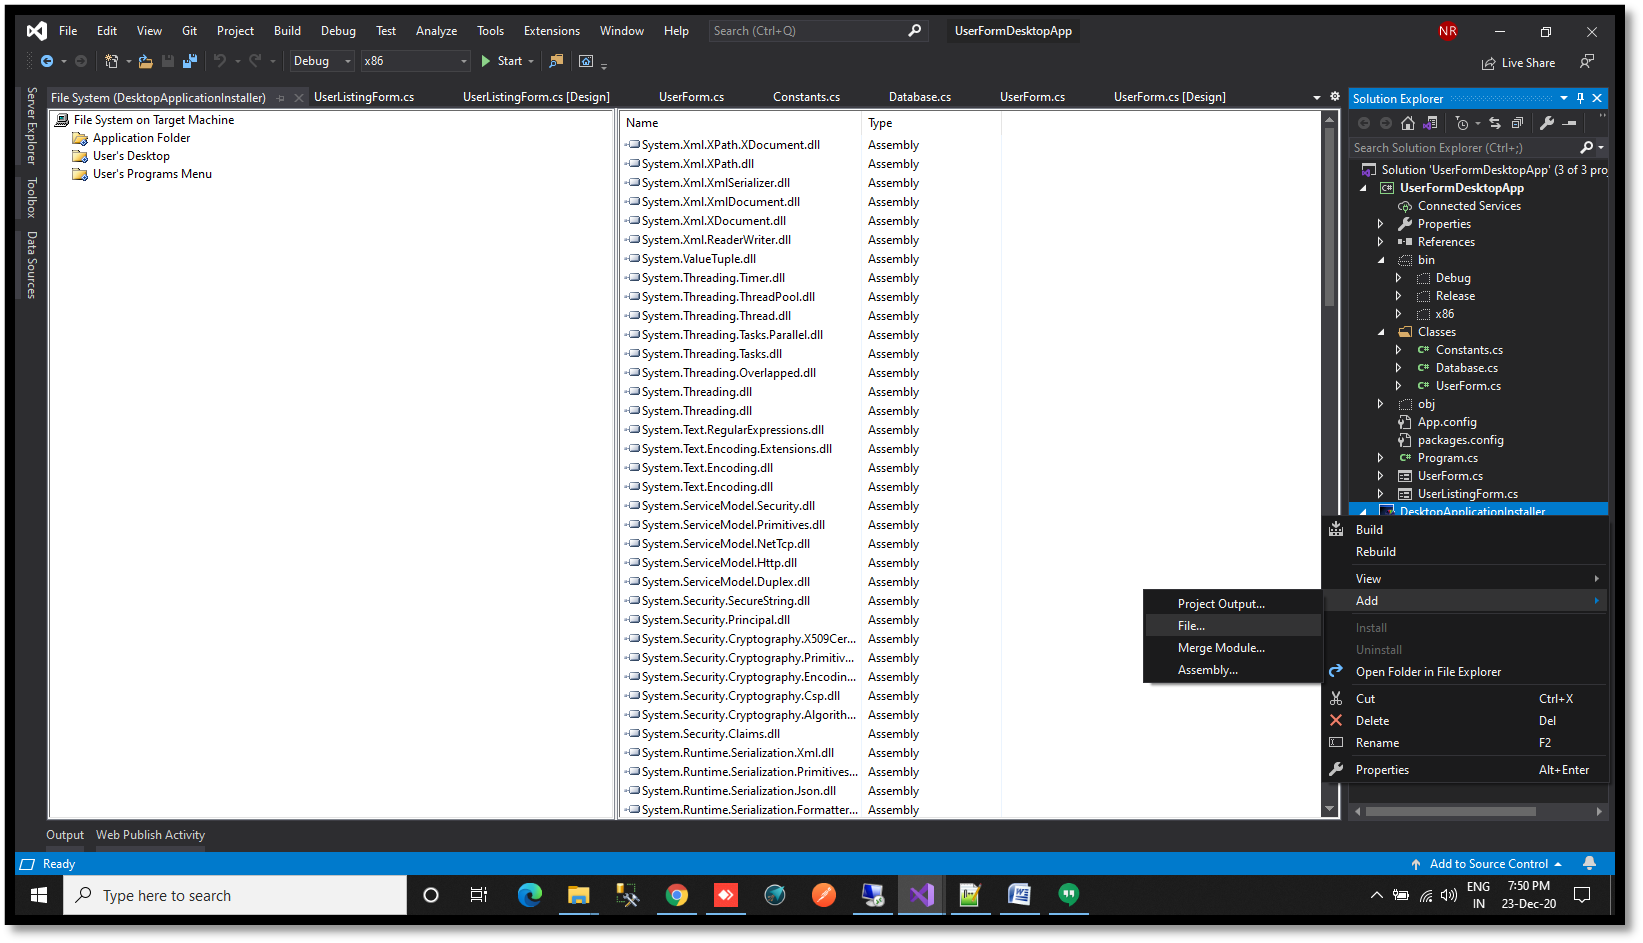](https://www.velsof.com/wp-content/uploads/2021/03/Picture17.png) Browse to database of the application to (bin/x86/Debug) – Click Open [](https://www.velsof.com/wp-content/uploads/2021/03/Picture18.png) Click on Installer -Press F4 key- Click on Product Code- Click New Code- Click Ok -Click Upgrade Code – Click New Code -Click Ok [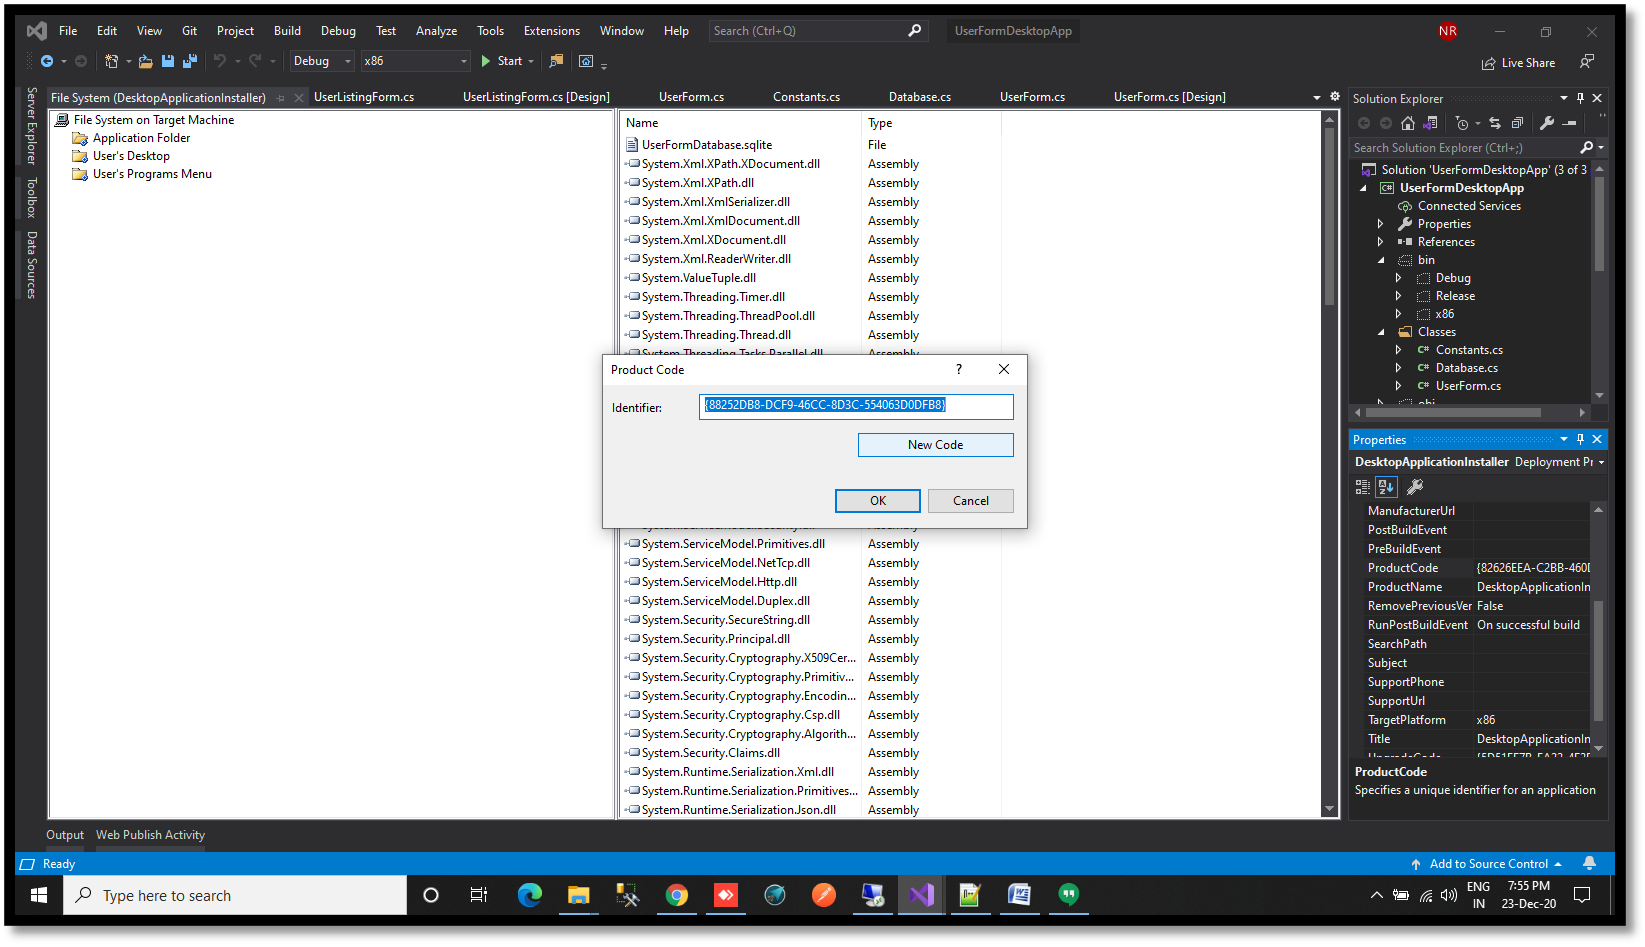](https://www.velsof.com/wp-content/uploads/2021/03/Picture19.png) Right click on Application Folder- Click Add- Click File -Browse to path of icon image- Click Open. [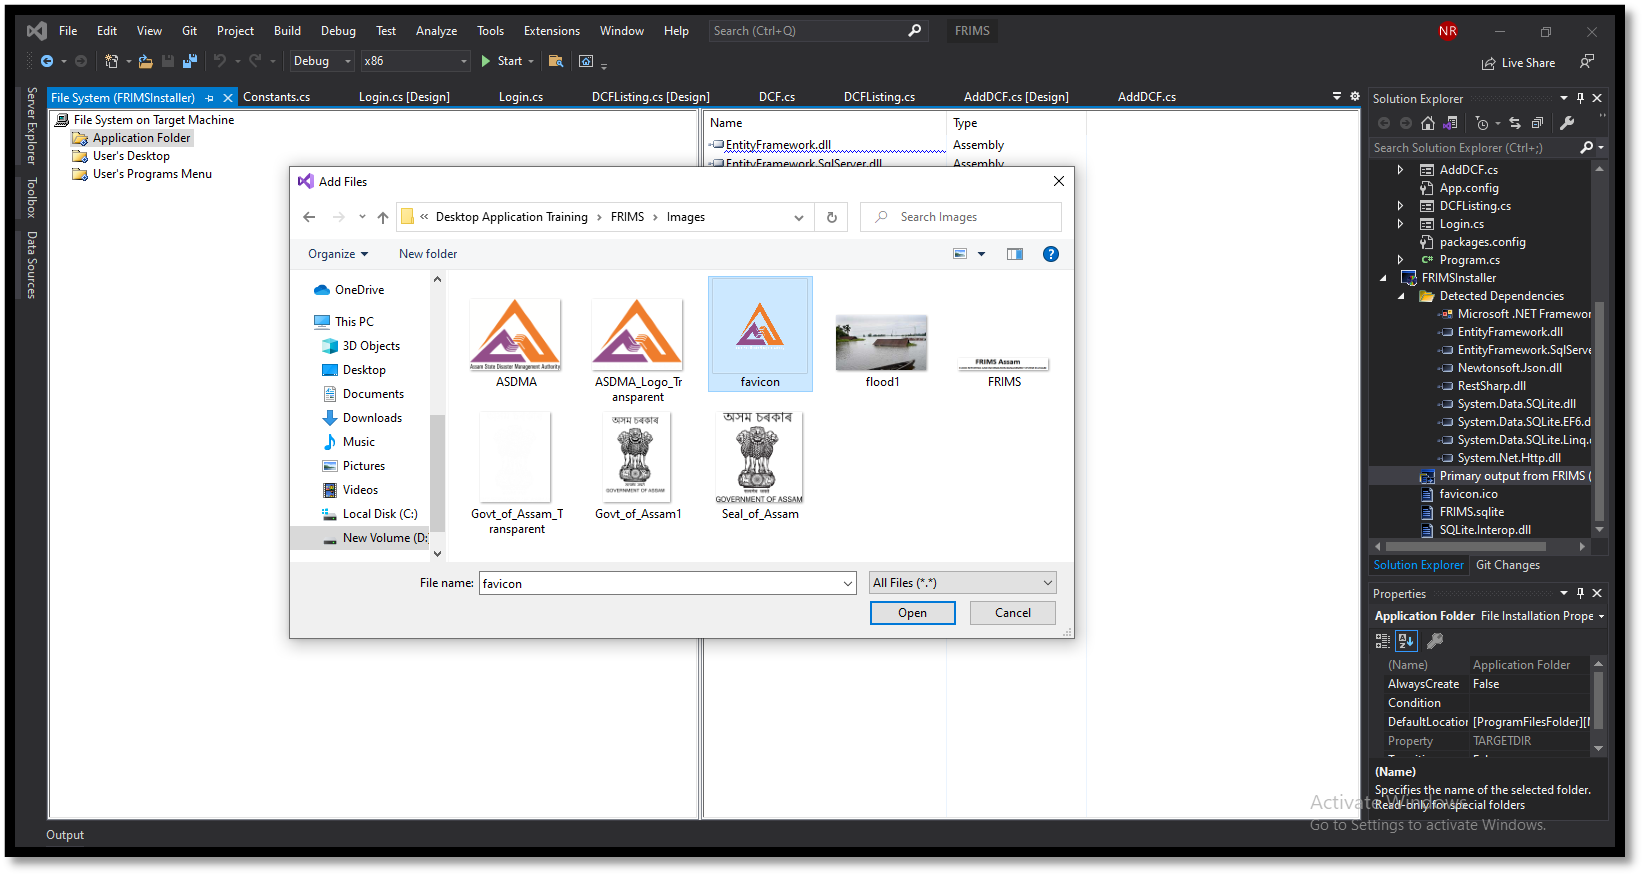](https://www.velsof.com/wp-content/uploads/2021/03/Picture20.png) Click on Installer -Press F4 key -Click on AddRemoveProgramsIcons-Click on Browse- Click on Browse-Double click on Application Folder Select the icon image -Click Ok [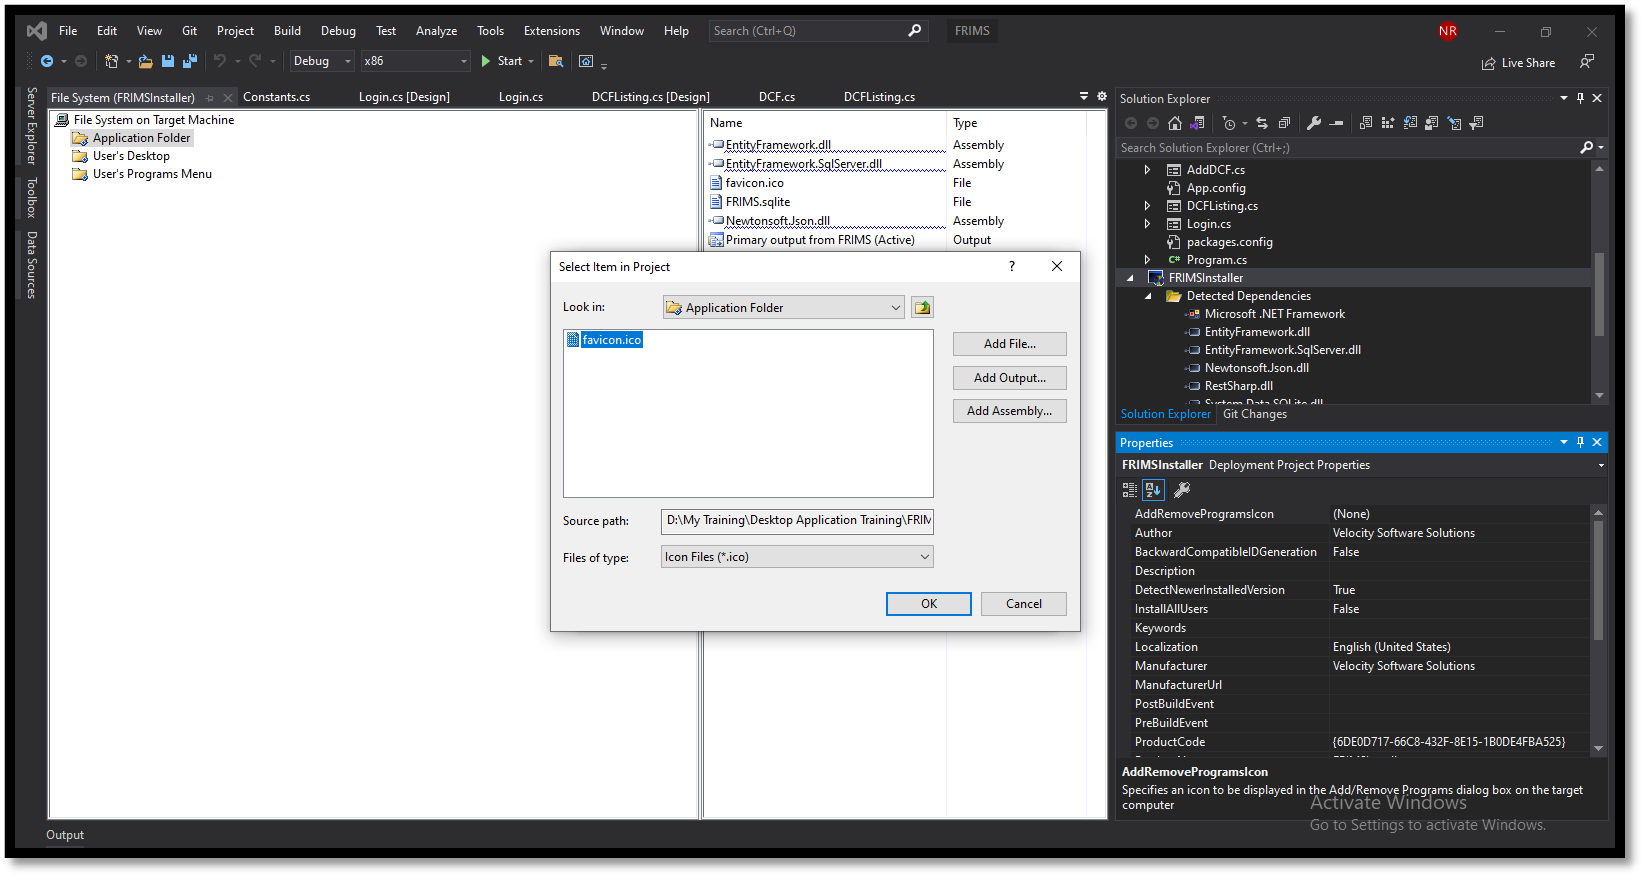](https://www.velsof.com/wp-content/uploads/2021/03/Picture21.png) Click on Installer -Press F4 key- Click on AuthorWrite Company Name (Velocity Software Solutions) -Click on Manufacturer Write Company Name (Velocity Software Solutions) [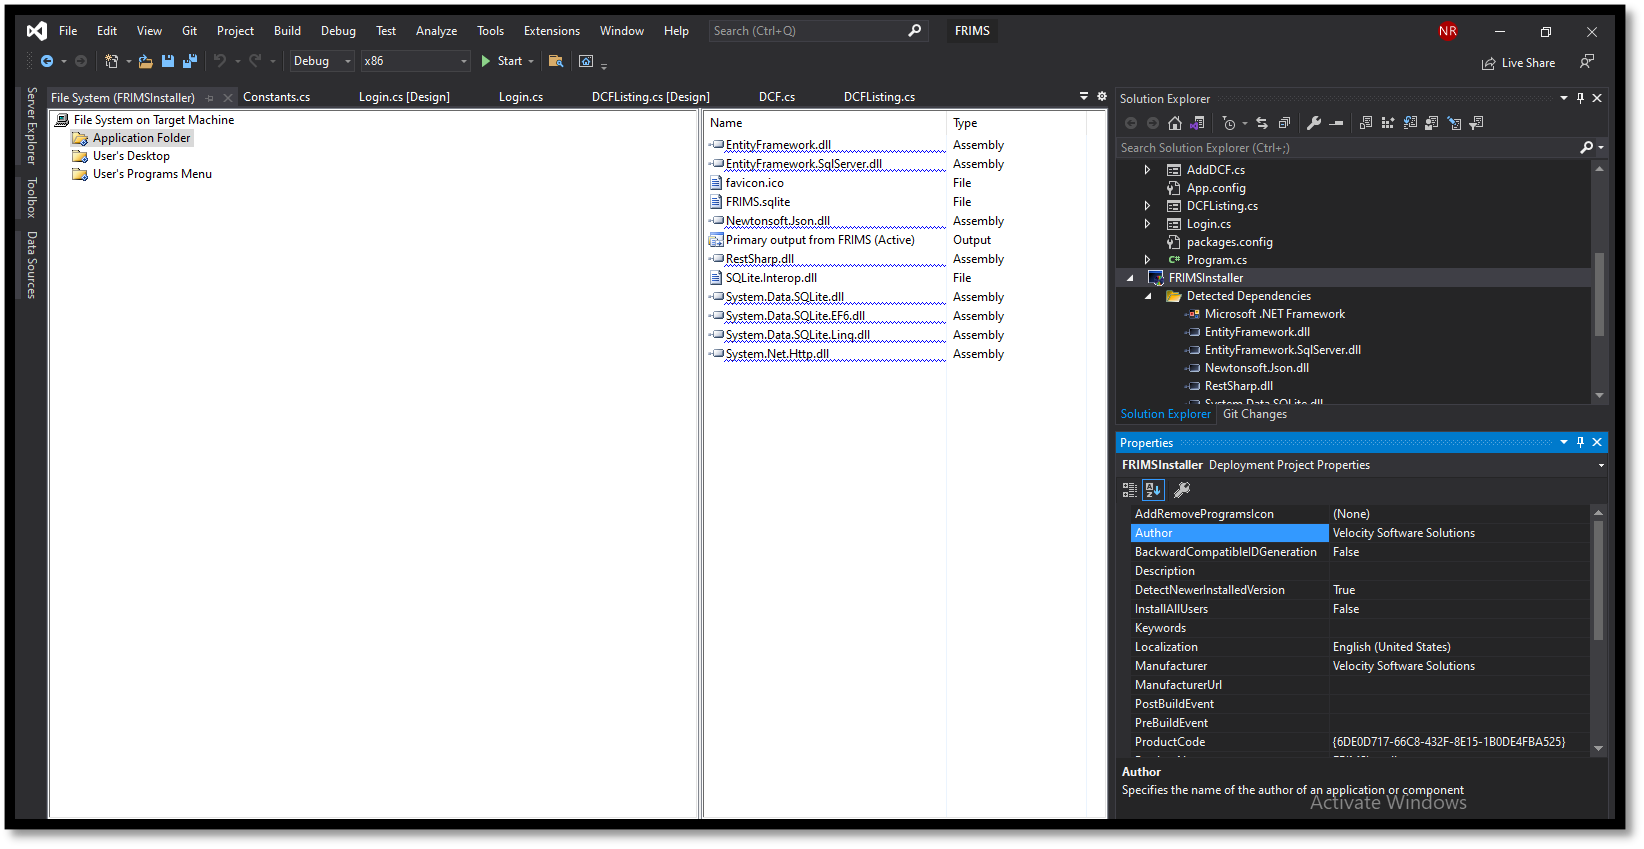](https://www.velsof.com/wp-content/uploads/2021/03/Picture22.png) Select Release mode from top bar- select x86 in next drop down If not present then add x86 by clicking configuration manager [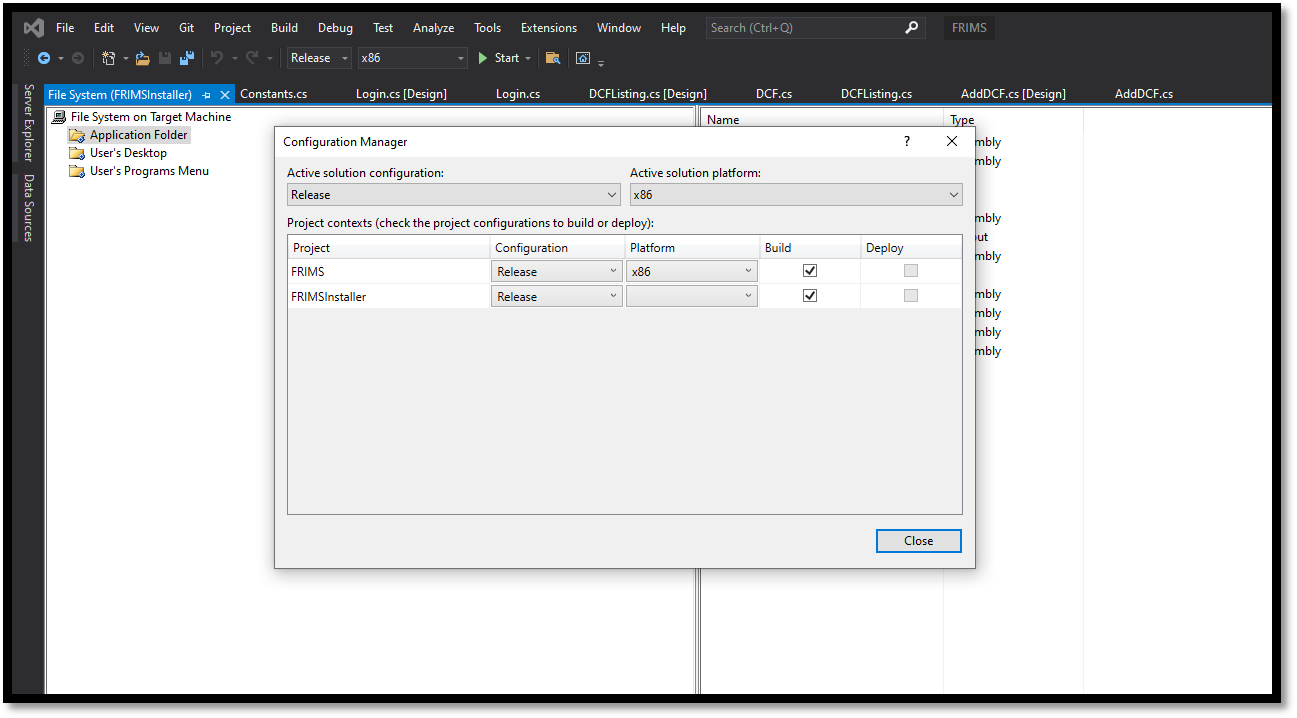](https://www.velsof.com/wp-content/uploads/2021/03/Picture23.png) Copy the database from bin- Debug to bin- x86 -Debug folder. Right click on Installer- Click Build Note – Kindly give write permission to folder where the application will be installed through exe. [](https://www.velsof.com/wp-content/uploads/2021/03/Picture24.png)[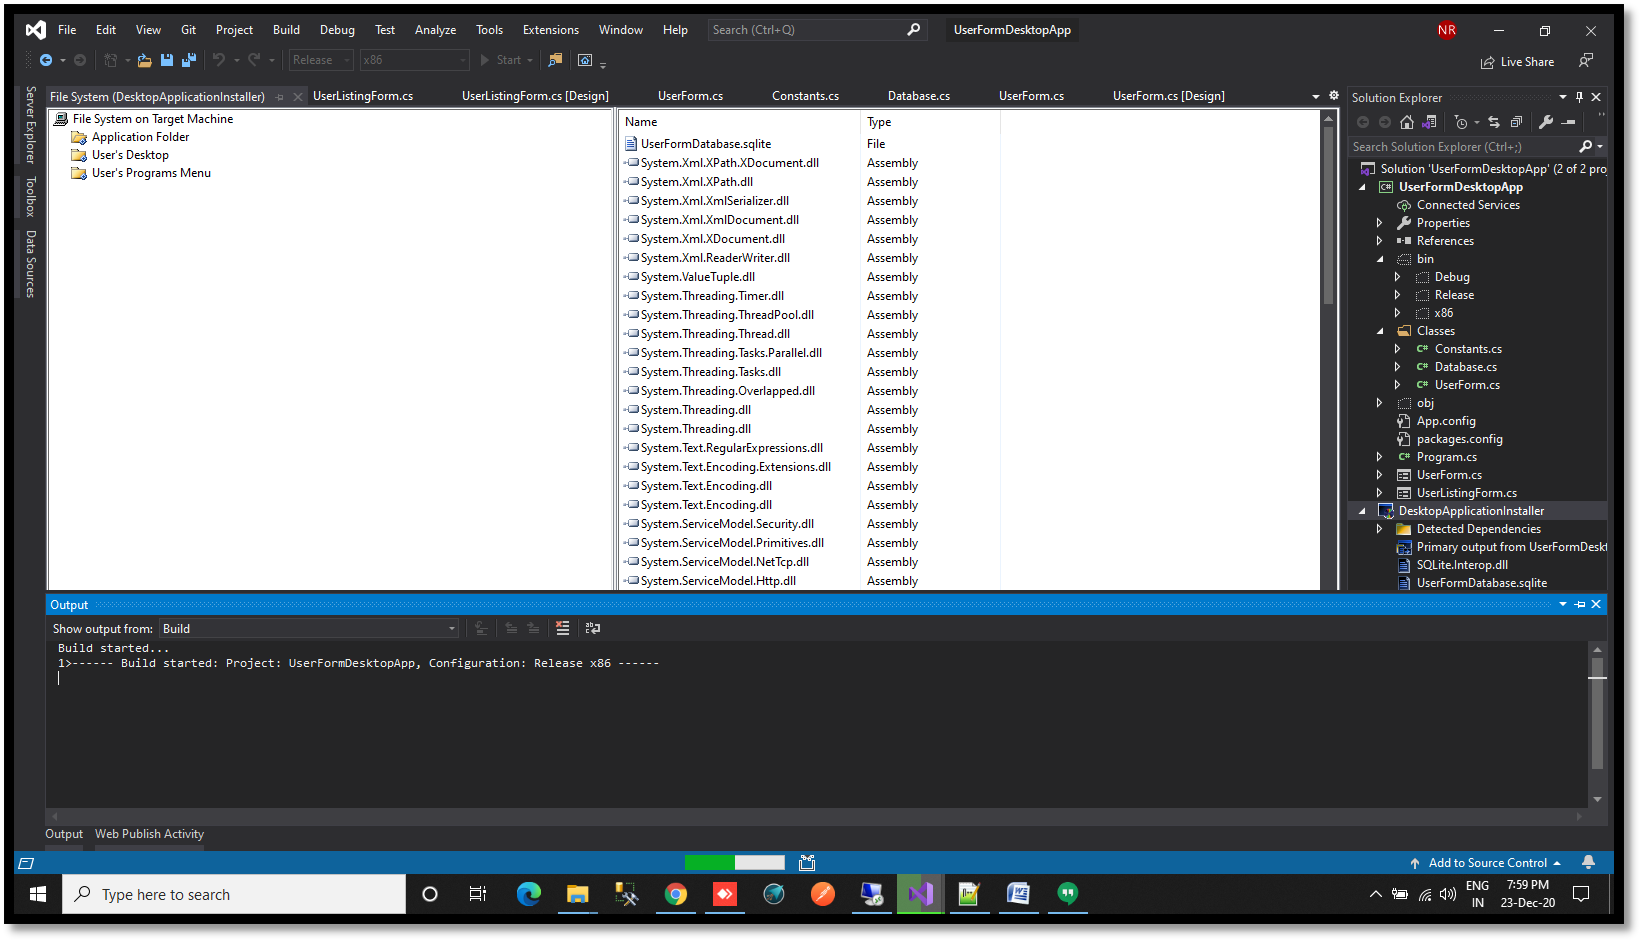](https://www.velsof.com/wp-content/uploads/2021/03/Picture25.png)