Page layout is an important ingredient for the SharePoint website development activity and is the first basic step towards getting a SharePoint site according to your business requirements. This is the building block towards master page customization and development services for this SharePoint 2013 platform. However, there are novice people in the field of SharePoint development services that may not be aware about the creation of page layout in this SharePoint 2013 platform. This is definitely an eye opener blog that can guide those people in the right direction.
Before treading further in this direction, it is important to understand the content type and master page which will be linked with your particular page layout. Finally, we are good to go in this direction in order to create a seamless page layout which is required during SharePoint development services.
- First, browse your publishing site.
- You need to select the gear icon that is located on the upper right corner of the page. On the same page, you need to choose the Design Manager.
- From Design Manager, you need to select the “Edit Page Layouts” option which is present on the left navigation pane.
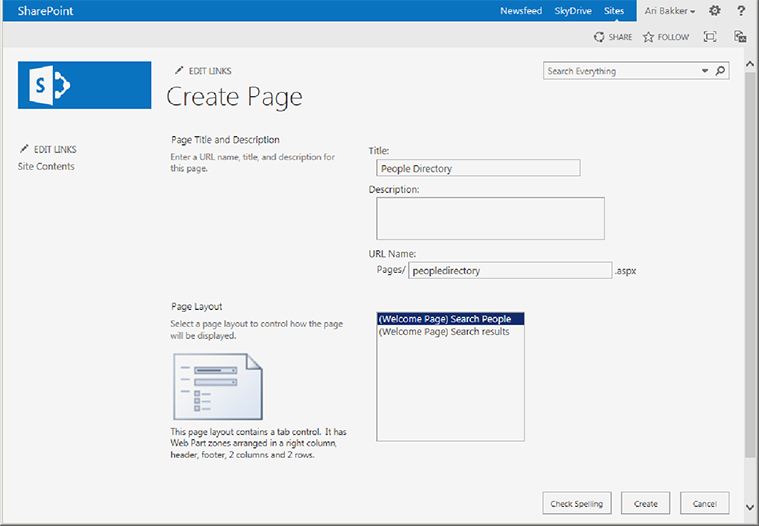
- Select “Create a page layout” option.
- You need to provide a name for your page layout by entering the desired name in “create a page layout” dialog box”.
- Choose a desired master page for accomplishing your SharePoint development services for achieving a brilliant SharePoint site. The selected master page for your site will be shown in the preview for required page layout.
- You need to choose a desired content type. This content type for a particular page layout provides information about the page fields that are used for the page layout present in the Snippet Gallery.
- Choose OK option. With this step, SharePoint forms two main files, one is an HTML file and another is an .aspx file with the same name.
- Now, you need to click the link provided in the Status column for checking the preview of your file and to view any errors or warnings regarding the master page. It is recommended to resolve all the errors that are present for a seamless preview display of the page layout. If you want to know more about error resolution during SharePoint development services, you need to check out this informative link.
- In order to resolve various errors, you need to make changes in the HTML file that is present on the server through the help of an HTML editor for a seamless configuration of the HTML file in the mapped drive. Any changes done on the HTML file are automatically synced with the attached .aspx file.
- The preview of the page layout represents the page fields that were included by default onto the page layout option. With this final step, you can make desired changes according to your original HTML mockups.
By following these simple instructions, you can effortlessly create a desired page layout for your SharePoint site. However, if you need any expert assistance during this critical task, you can contact our SharePoint development services company, Velocity on this number +1 (424) 653-6907 or can mail us at [email protected].